Erosion Filter
A standalone widget for applying Runevision's Erosion Shader to png heightmaps.
This is a little javascript widget to apply Runevision’s Erosion Filter to an pre-made grayscale heightmap. The example use-case I had in mind is for applying “good enough” mountain textures to a hand-made fantasy heightmap.
Erosion Widget
Instructions:
- Click the button to a heightmap to erode.
- Wait for a moment for a smooth surface to be fit to the image.
- Play around with the preview:
- Click on the thumbnails below the main image to view them in the main preview.
- Adjust the sliders to change the shader parameters.
Attribution
Erosion shader: Advanced Terrain Erosion Filter and Phacelle Noise by Rune Skovbo Johansen, copyright (c) 2025, licensed under the Mozilla Public License 2.0.
Here is the author’s writeup of his erosion shader, which builds on prior work by Clay John and Felix Westin
I tried to faithfully convert Rune’s erosion filter to a standalone javascript pipeline. The relevant bits of the original ShaderToy code are copied directly (including explanatory comments and attribution) into the source of this html page as a big multi-line quote. I then had ChatGPT write a wrapper which compiles that verbatim fragment into… something something webGL. (I know sadly little about how shaders work. The extent of my knowledge is basically that old Mythbusters painting demo.)
Differences from the original shader
Surface Reconstruction
Rune’s shader buffer takes in a smooth map of height and slope, and 8 bit images are comparatively noisy. The tricky bit for this project was figuring out the best way to fit a surface to the input image.
The best option I’ve found was the simplest: Just apply a Gaussian blur, but keep track of the kernels and get their derivatives.
If this smooths out the details of your heightmap too much, you can try reducing the blur width, or using the B-spline surface type. But both of these introduce artifacts as a result of the “stairstep” nature of an 8bit height map.
Initial FadeTarget
The Erosion filter treats “ridges” and “gullies” differently. (Rune has details on his blog.) And the shader initially sets a target for which is which based on the initial height relative to some baseline.
However, he mentions that he expects that input to be program specific, and I’ve found good results for some test images by just setting the initial target to a neutral grey.
I’ve included options for Rune’s original height-based setting, all black (everything is a gully), all white (everything is peak), neutral, and a “Laplacian” option where the target is based on the second derivative of the surface.
Input height range
Rune’s erosion filter operates on maps which have a height range between 0 and 1, but using that entire range would tell the filter that we have extremely steep slopes, and the results wouldn’t look anything like the examples he shows.
By default, I compress the range of the input heightmap, so a black pixel gets set to the floor of 0.45 and a white pixel gets set to the ceiling value of 0.65.
Other parameters
Other settings parameters are explained in Rune’s video and blogpost, and the defaults are set to match those in the shadertoy code.
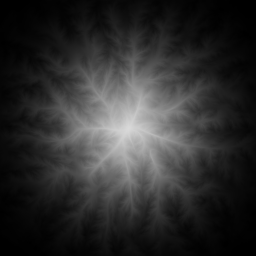
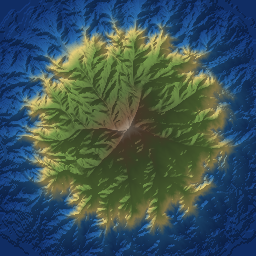
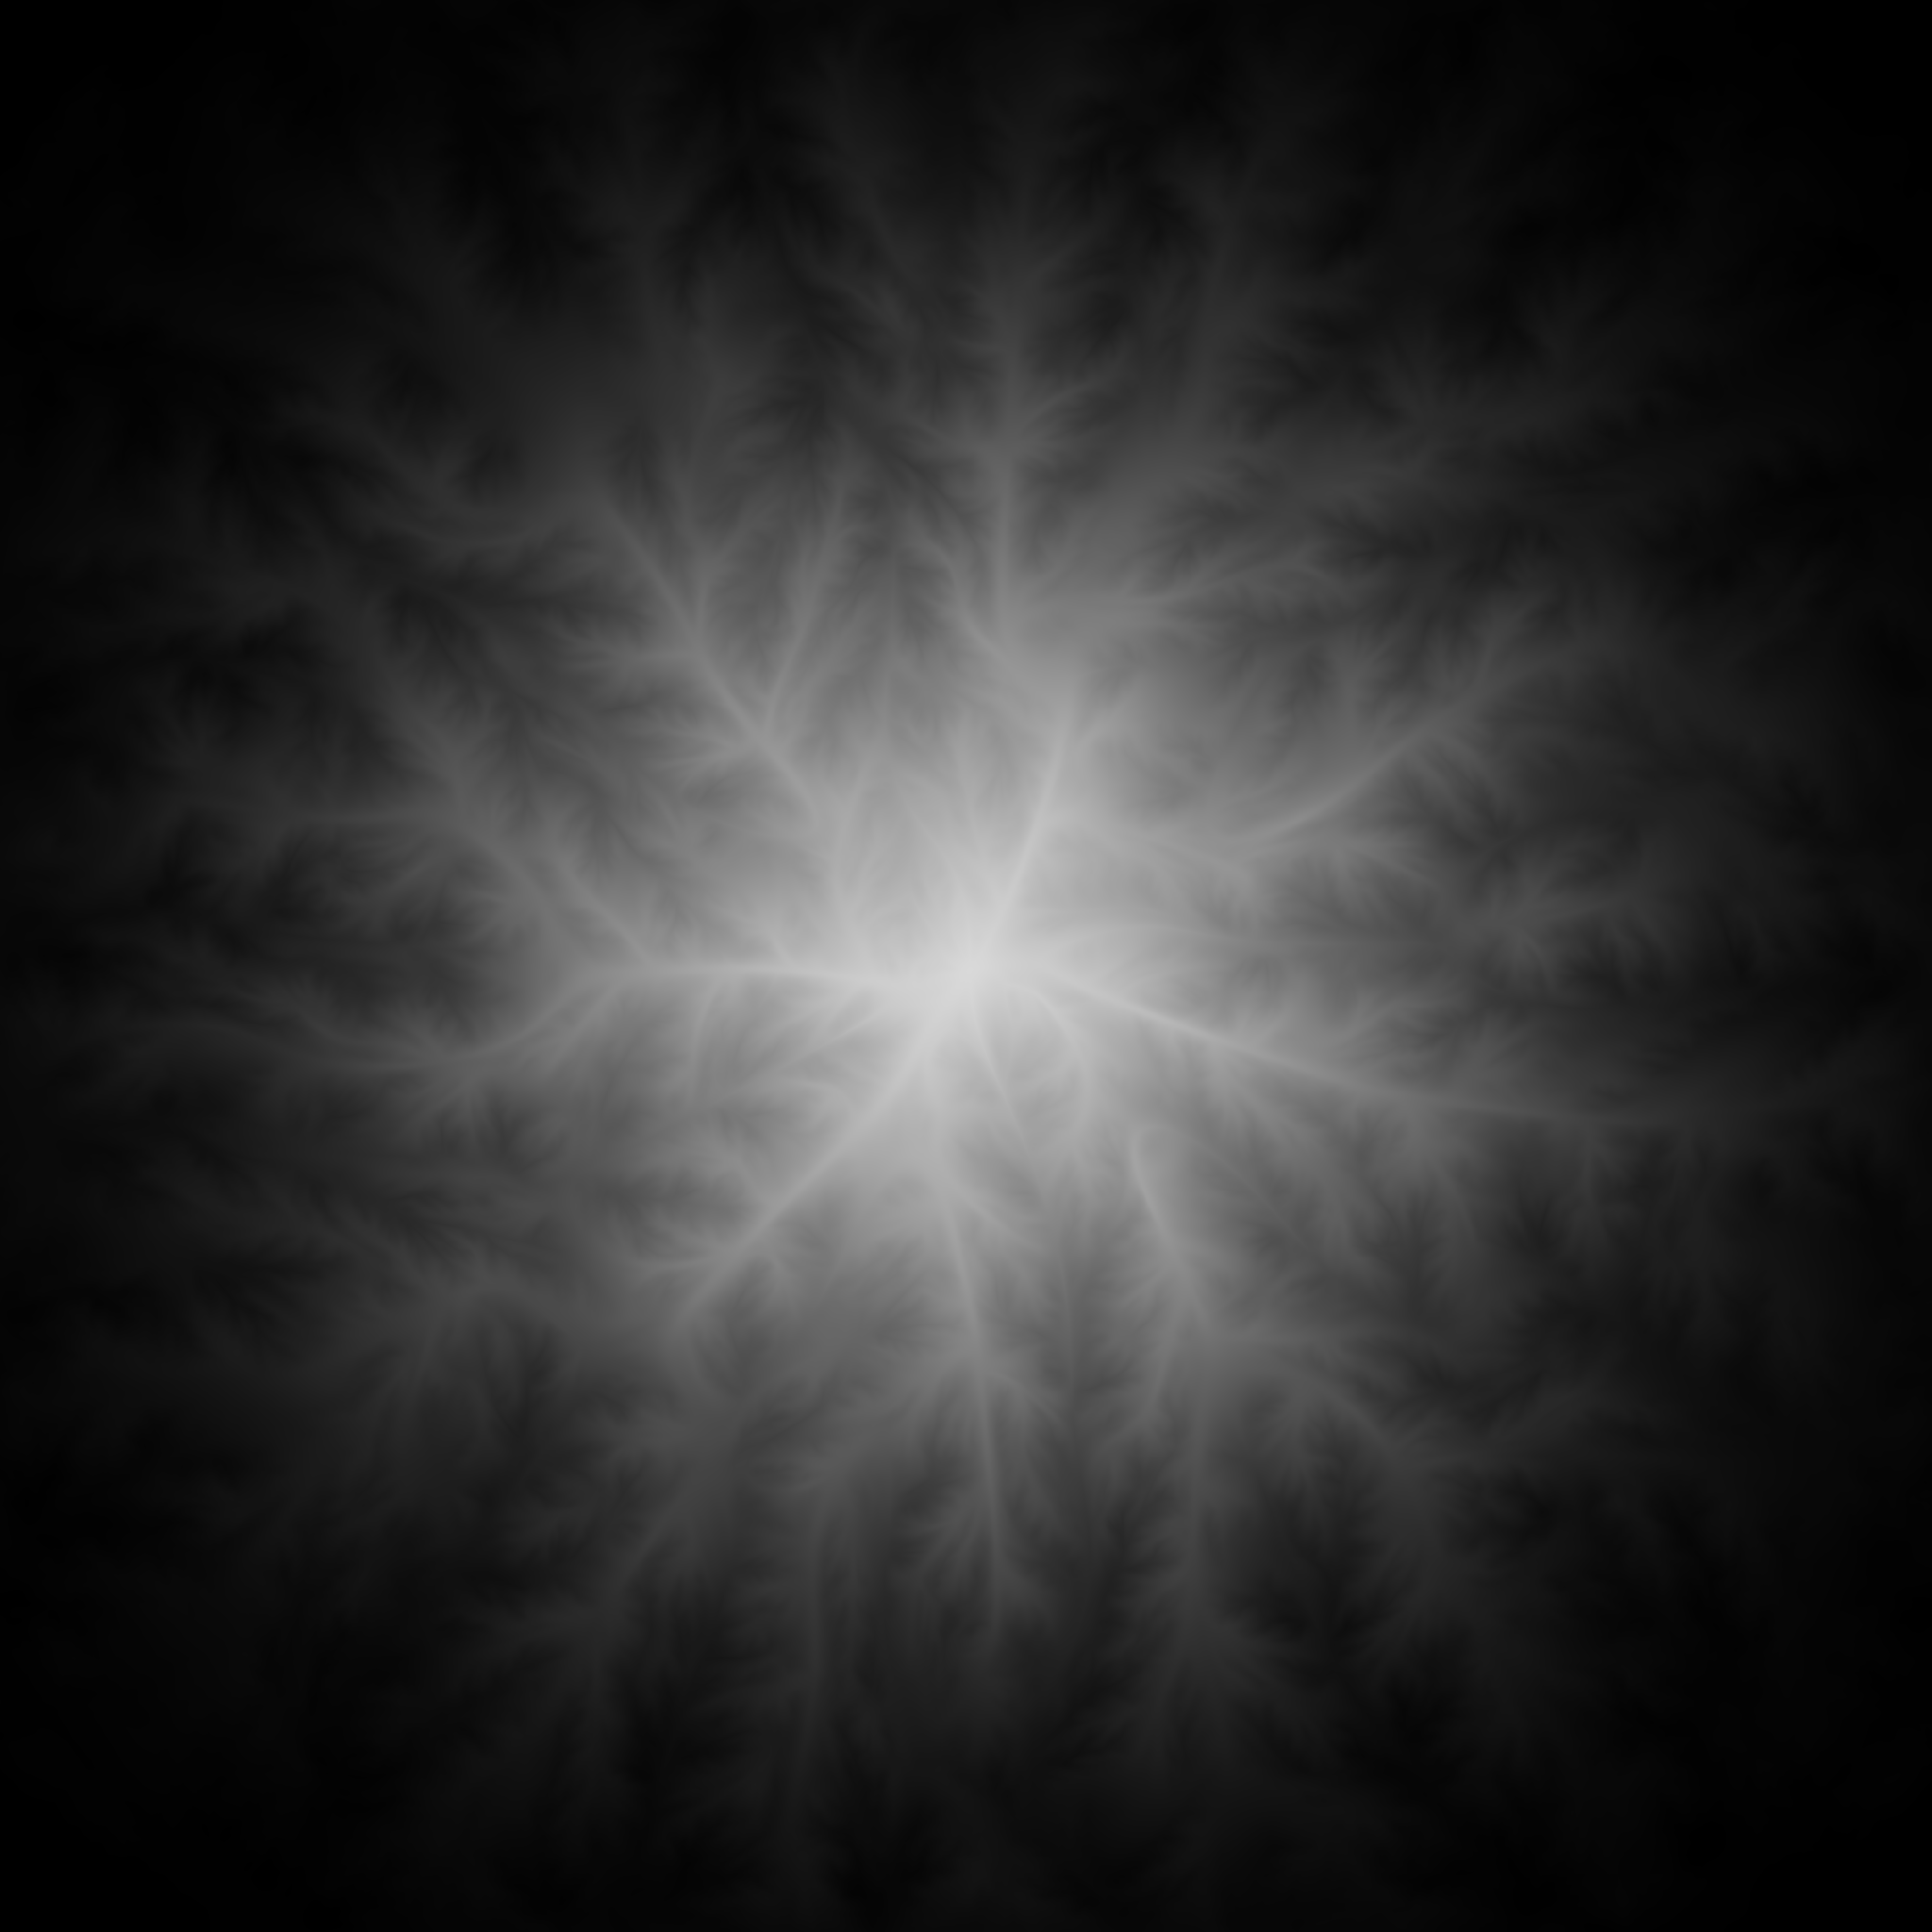
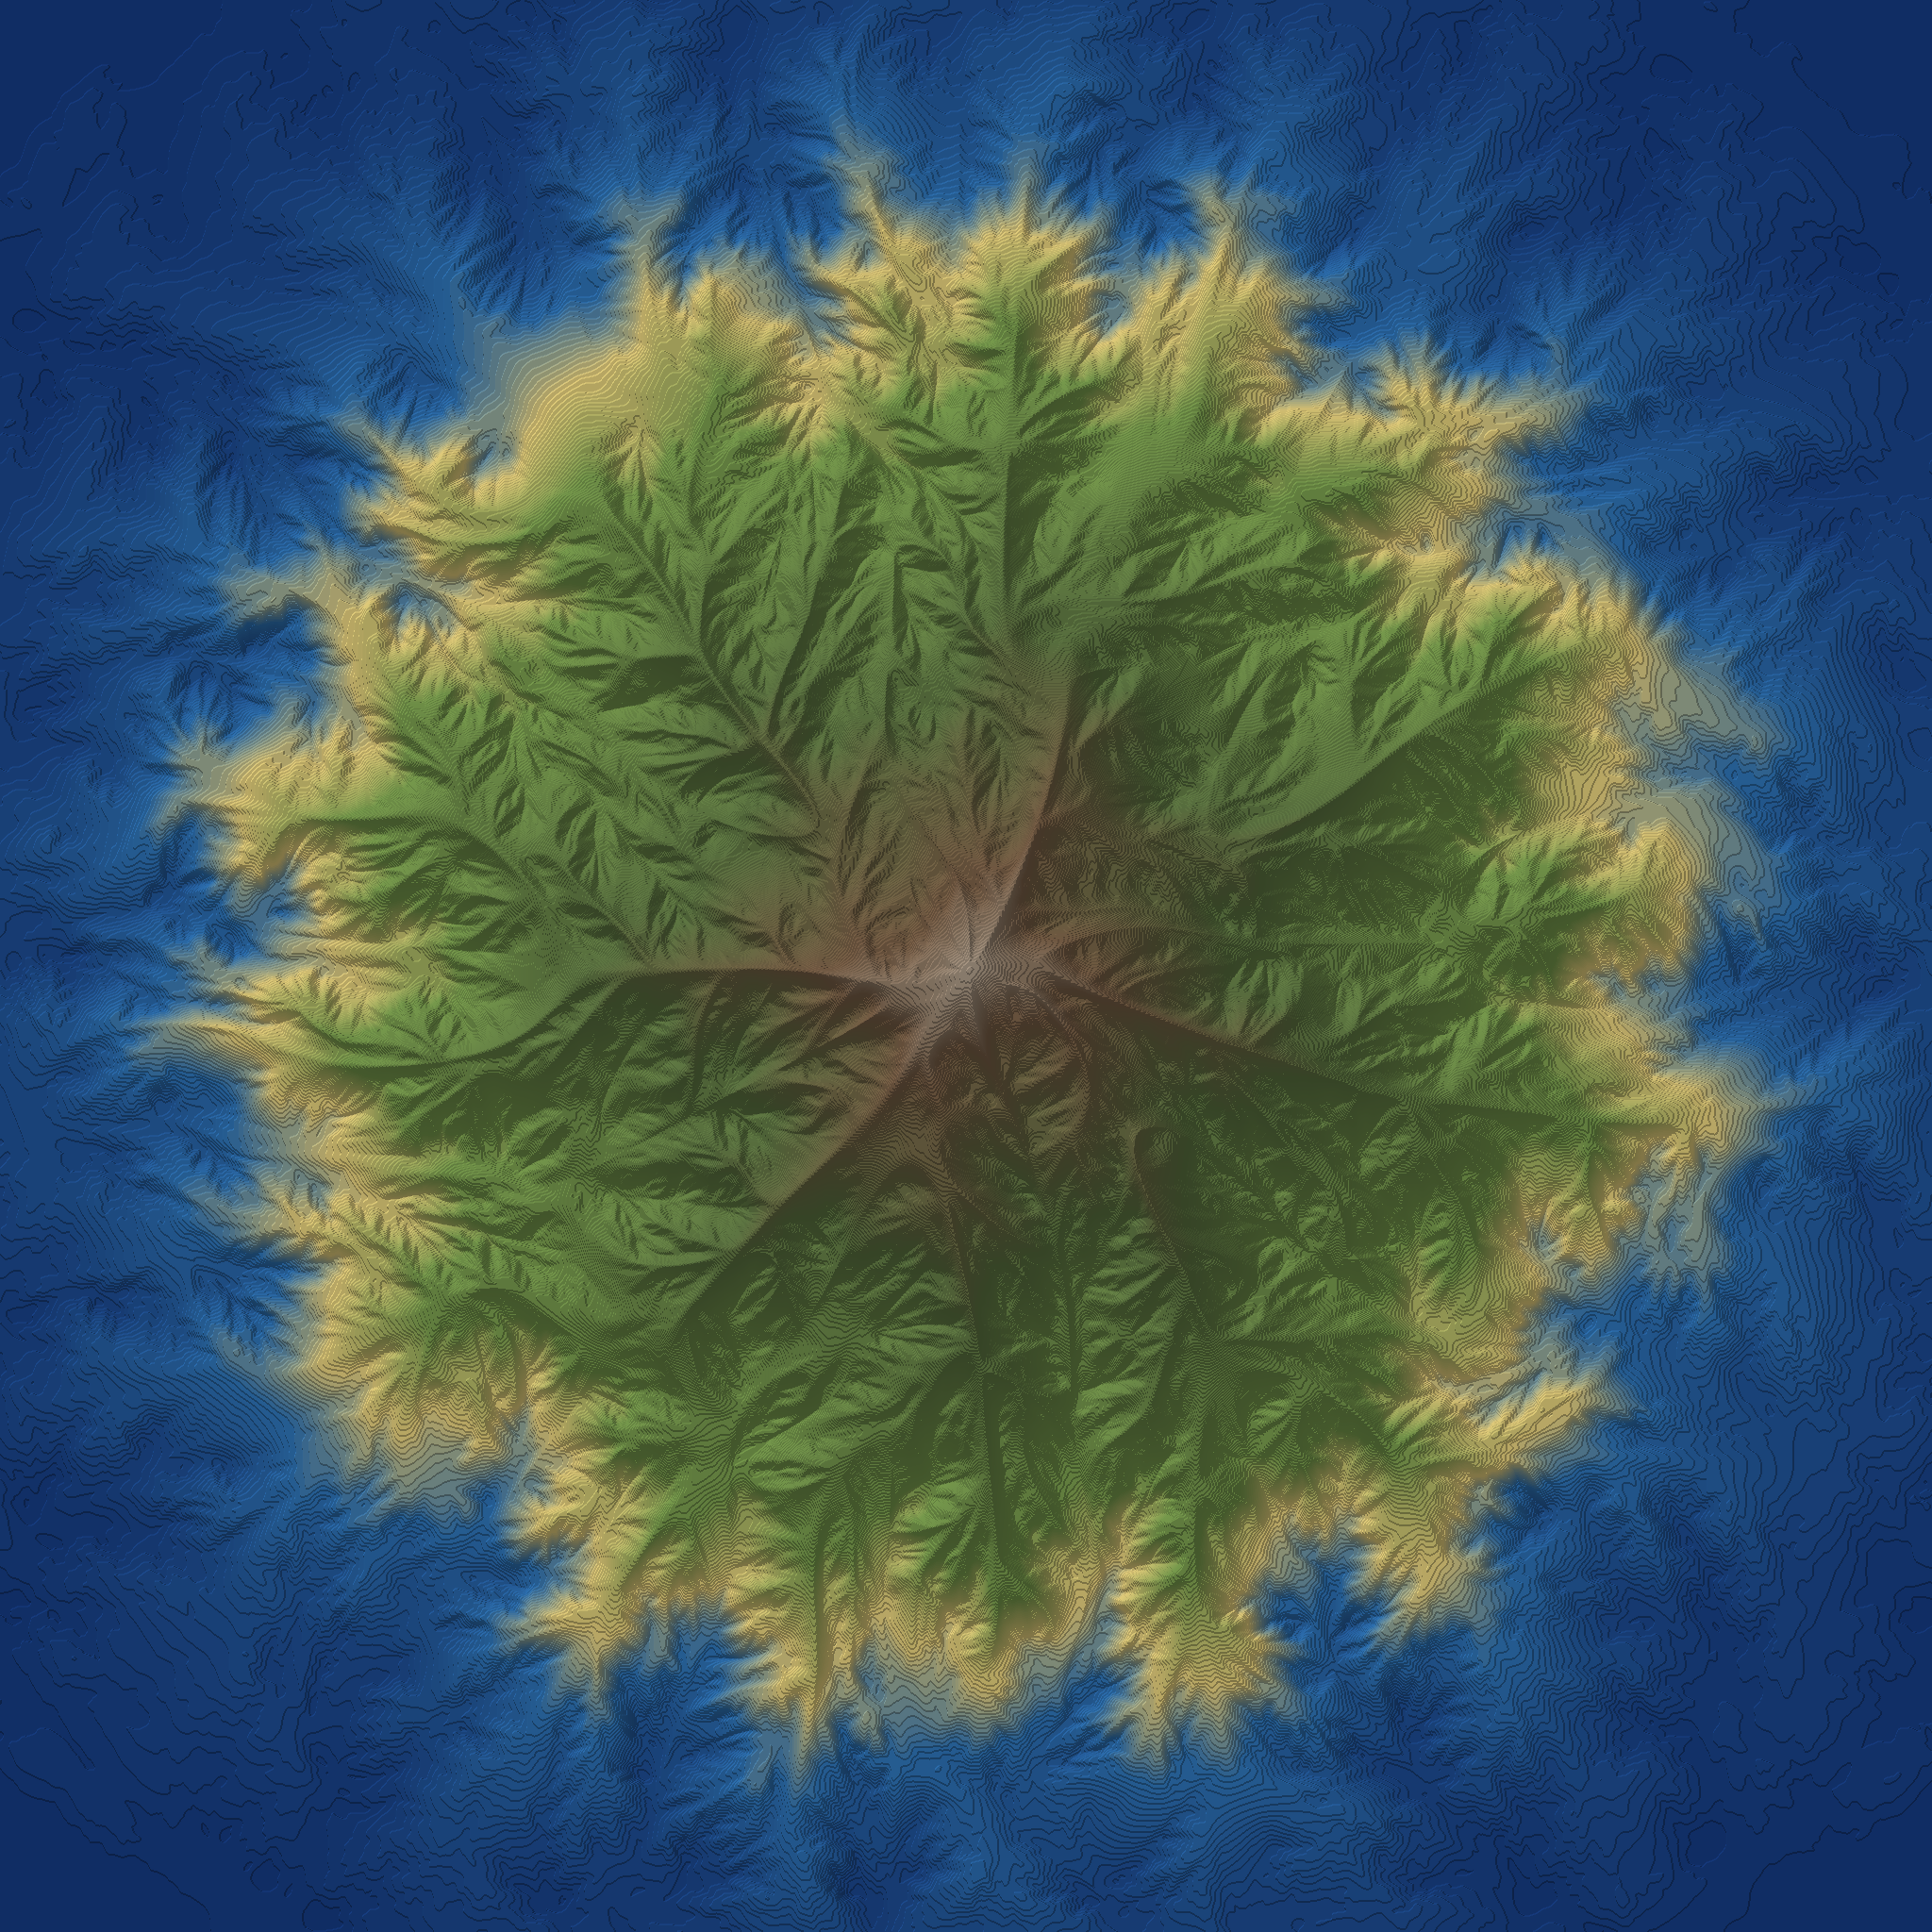
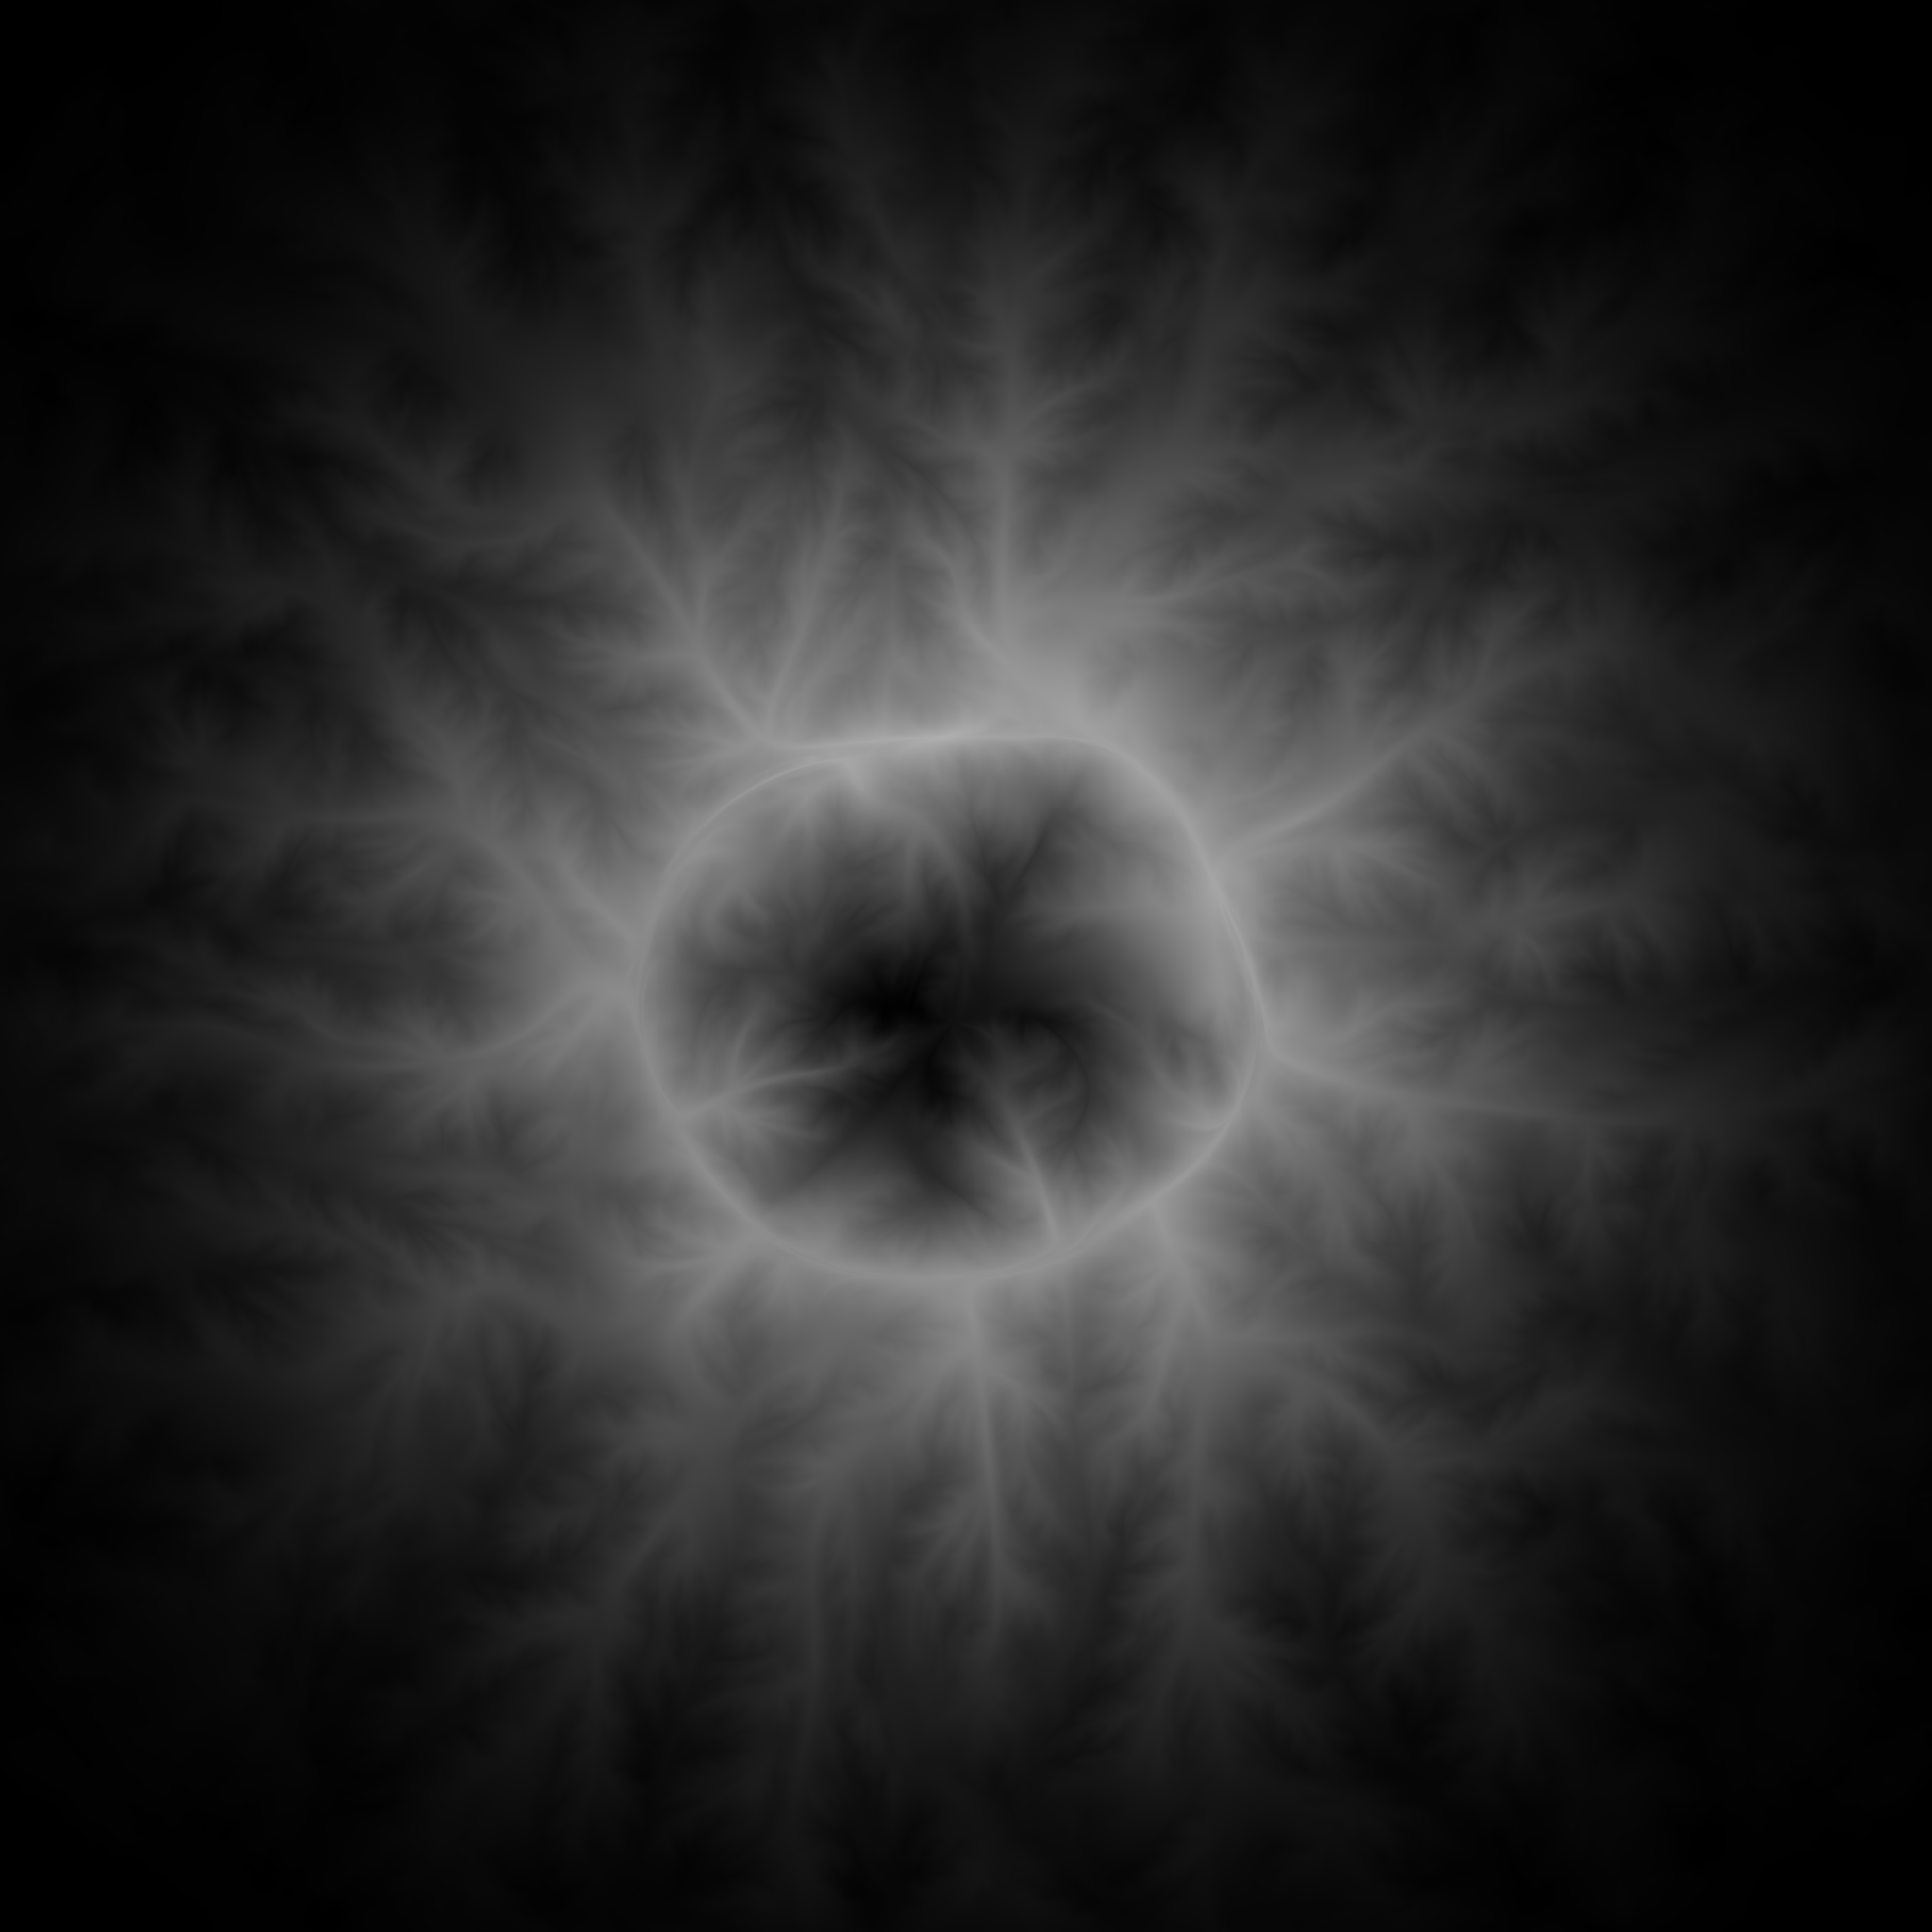
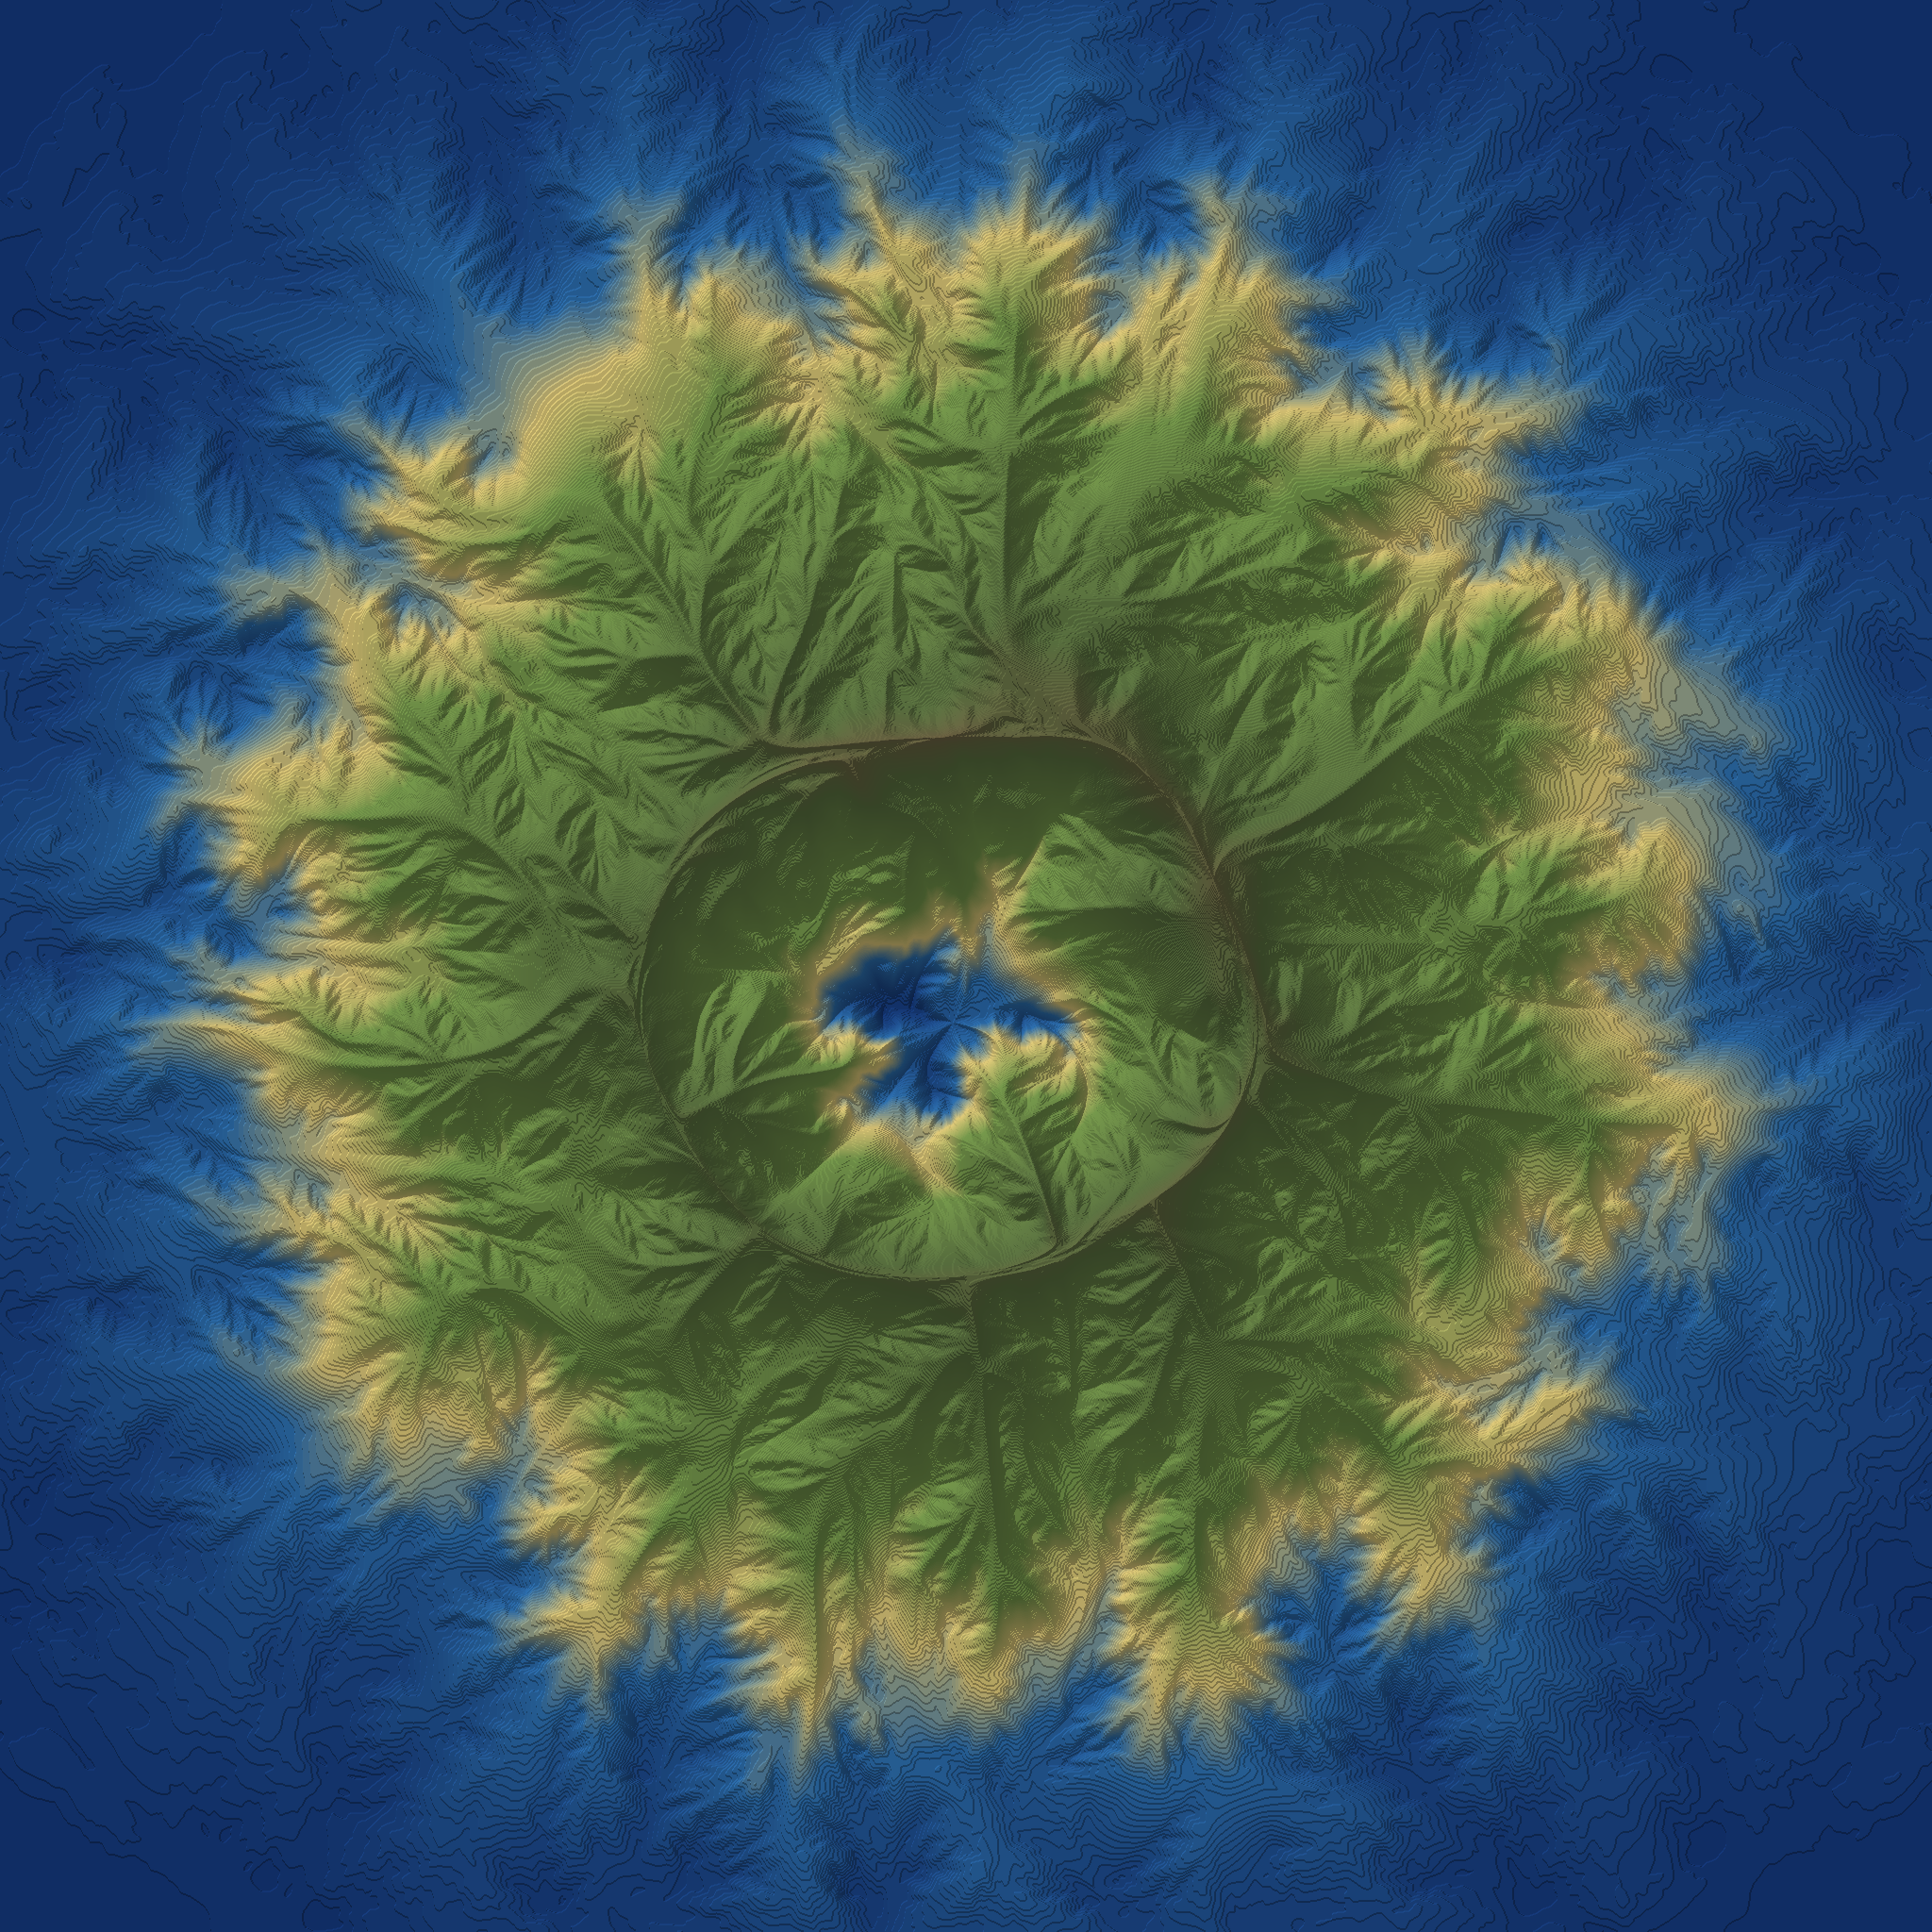
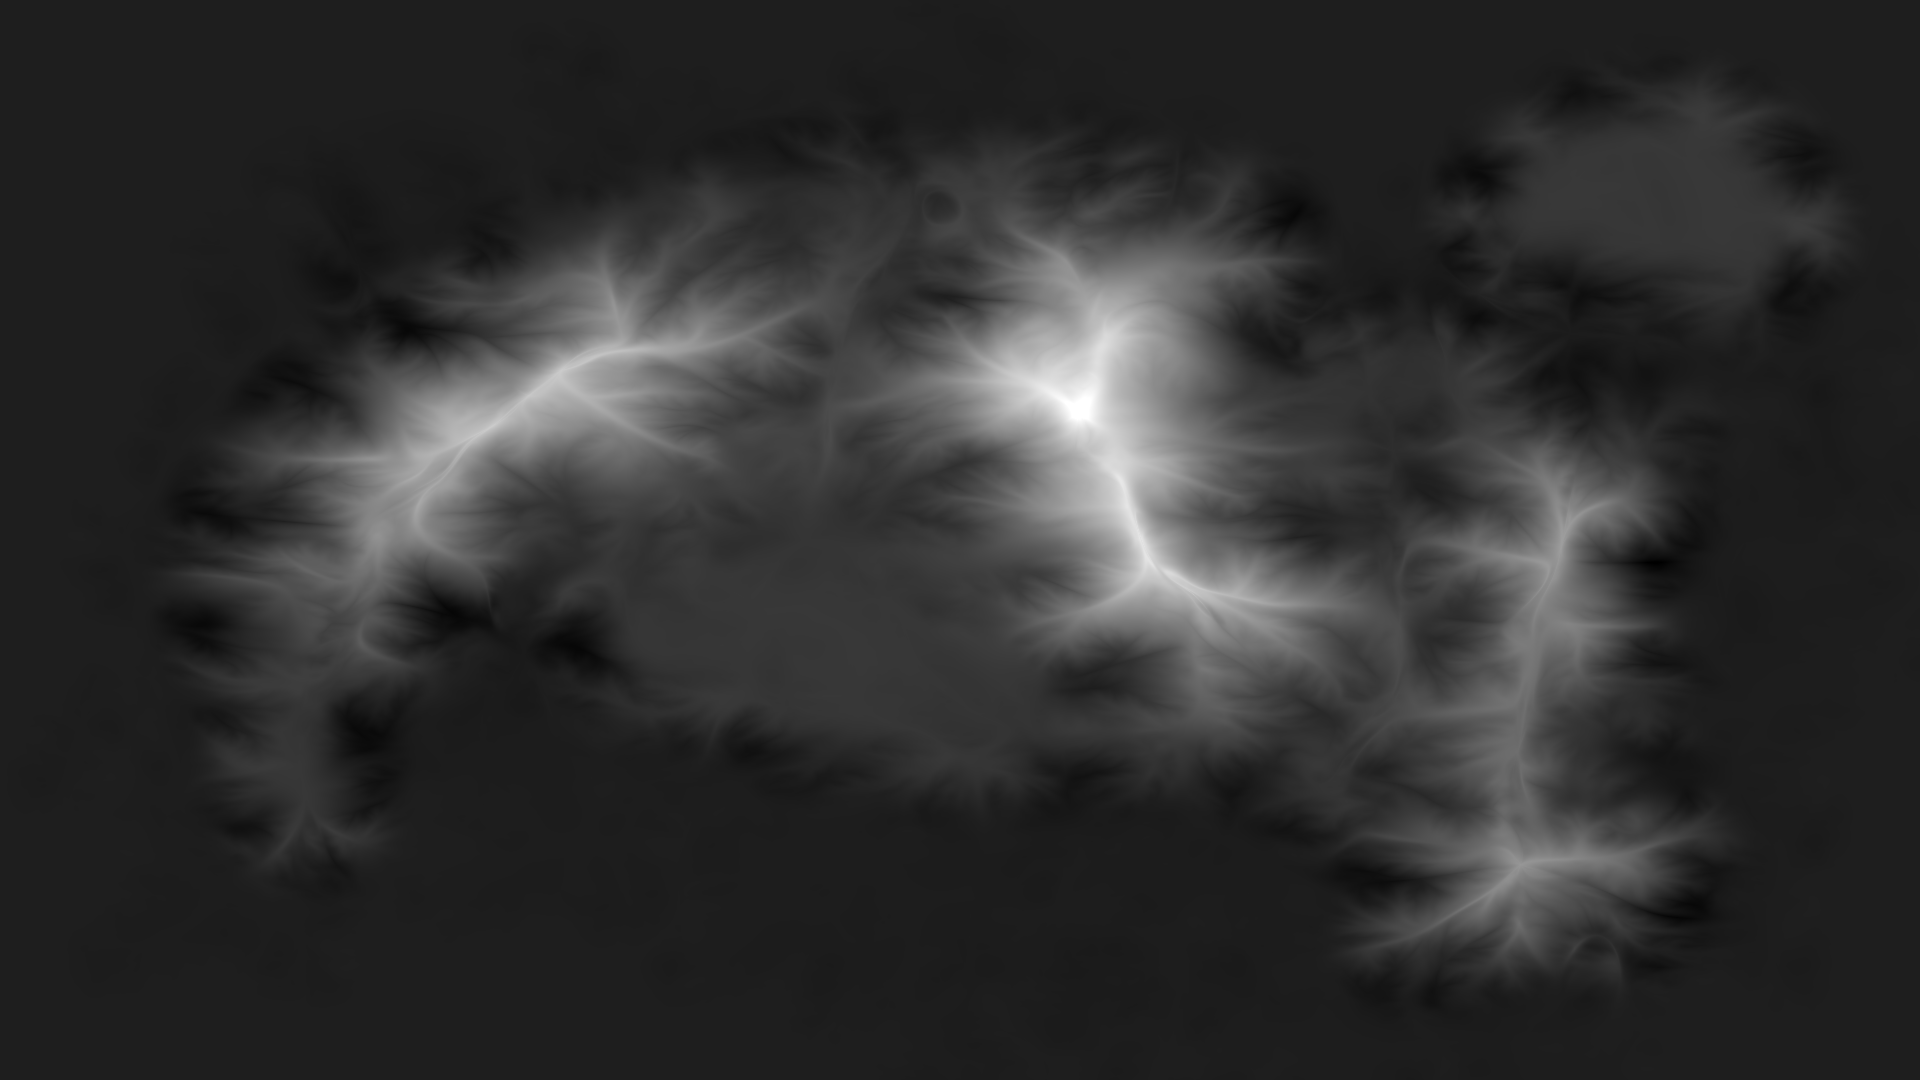
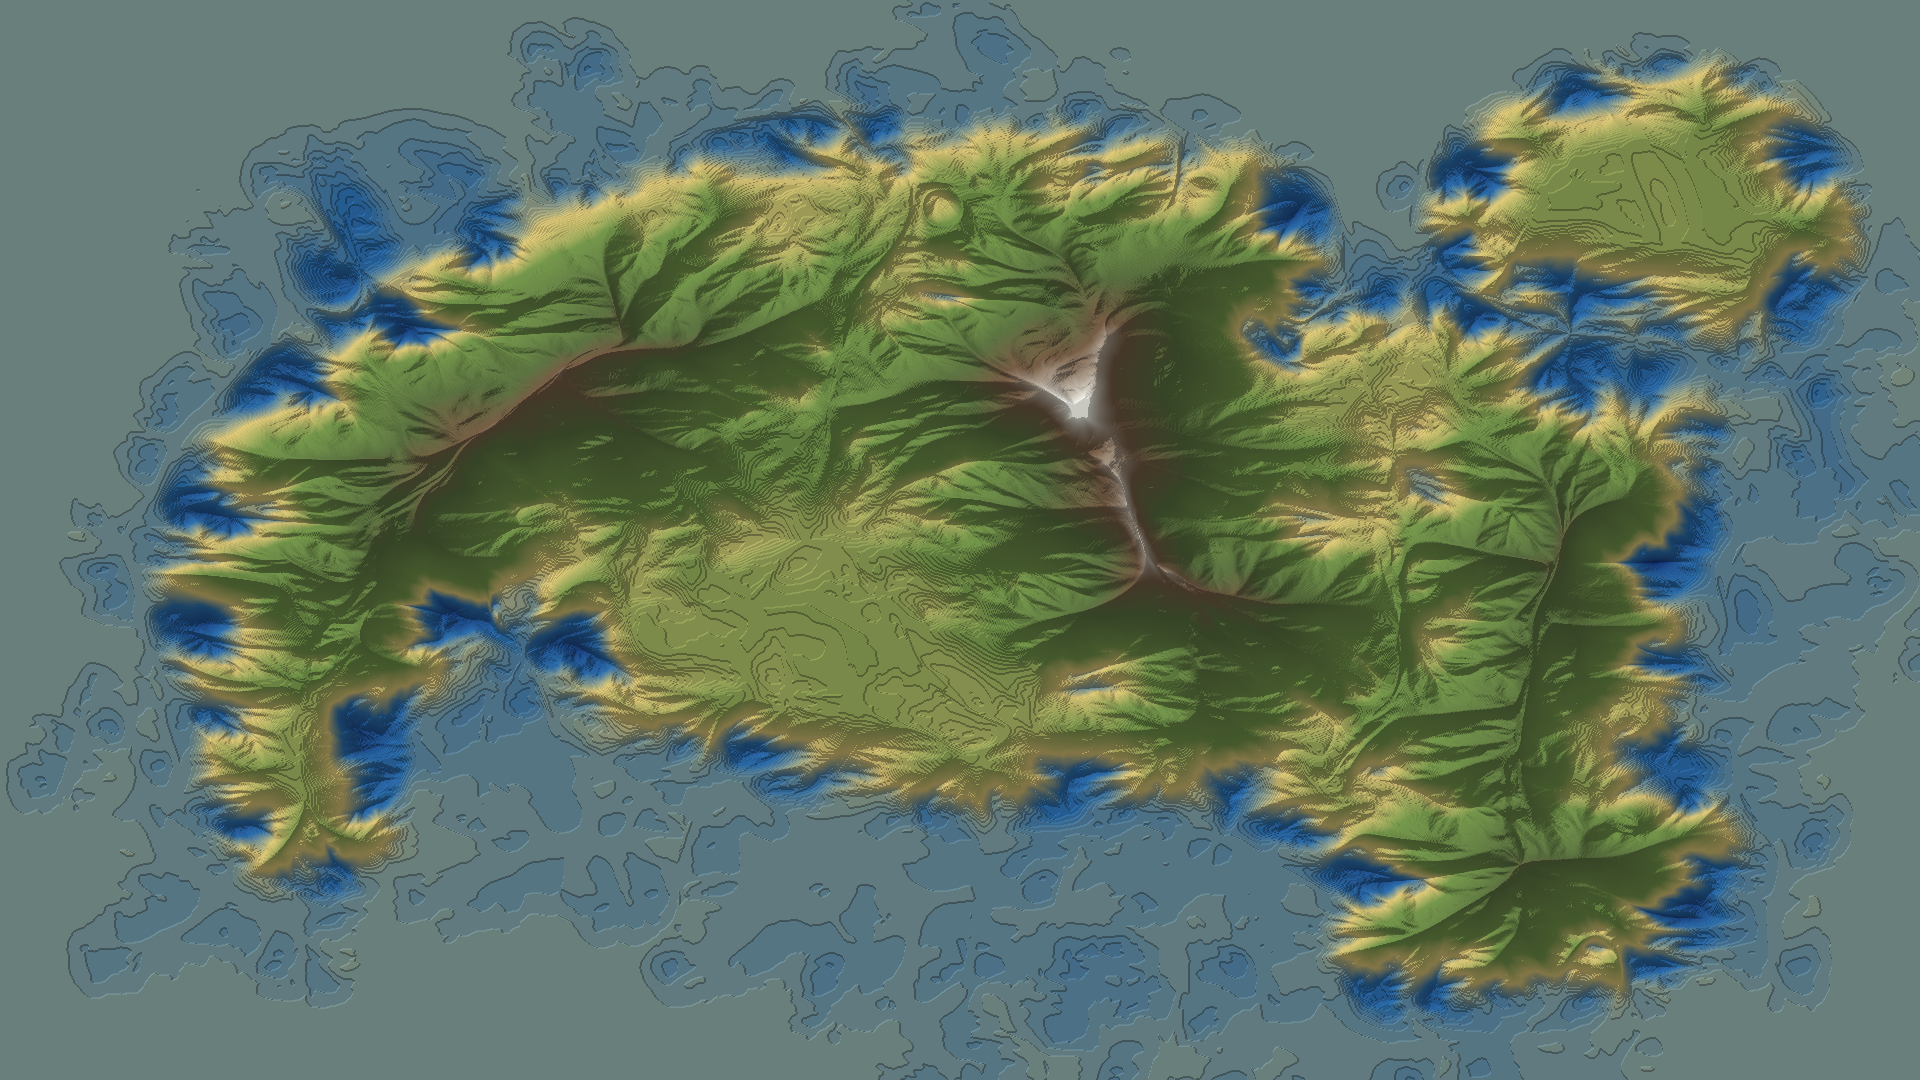
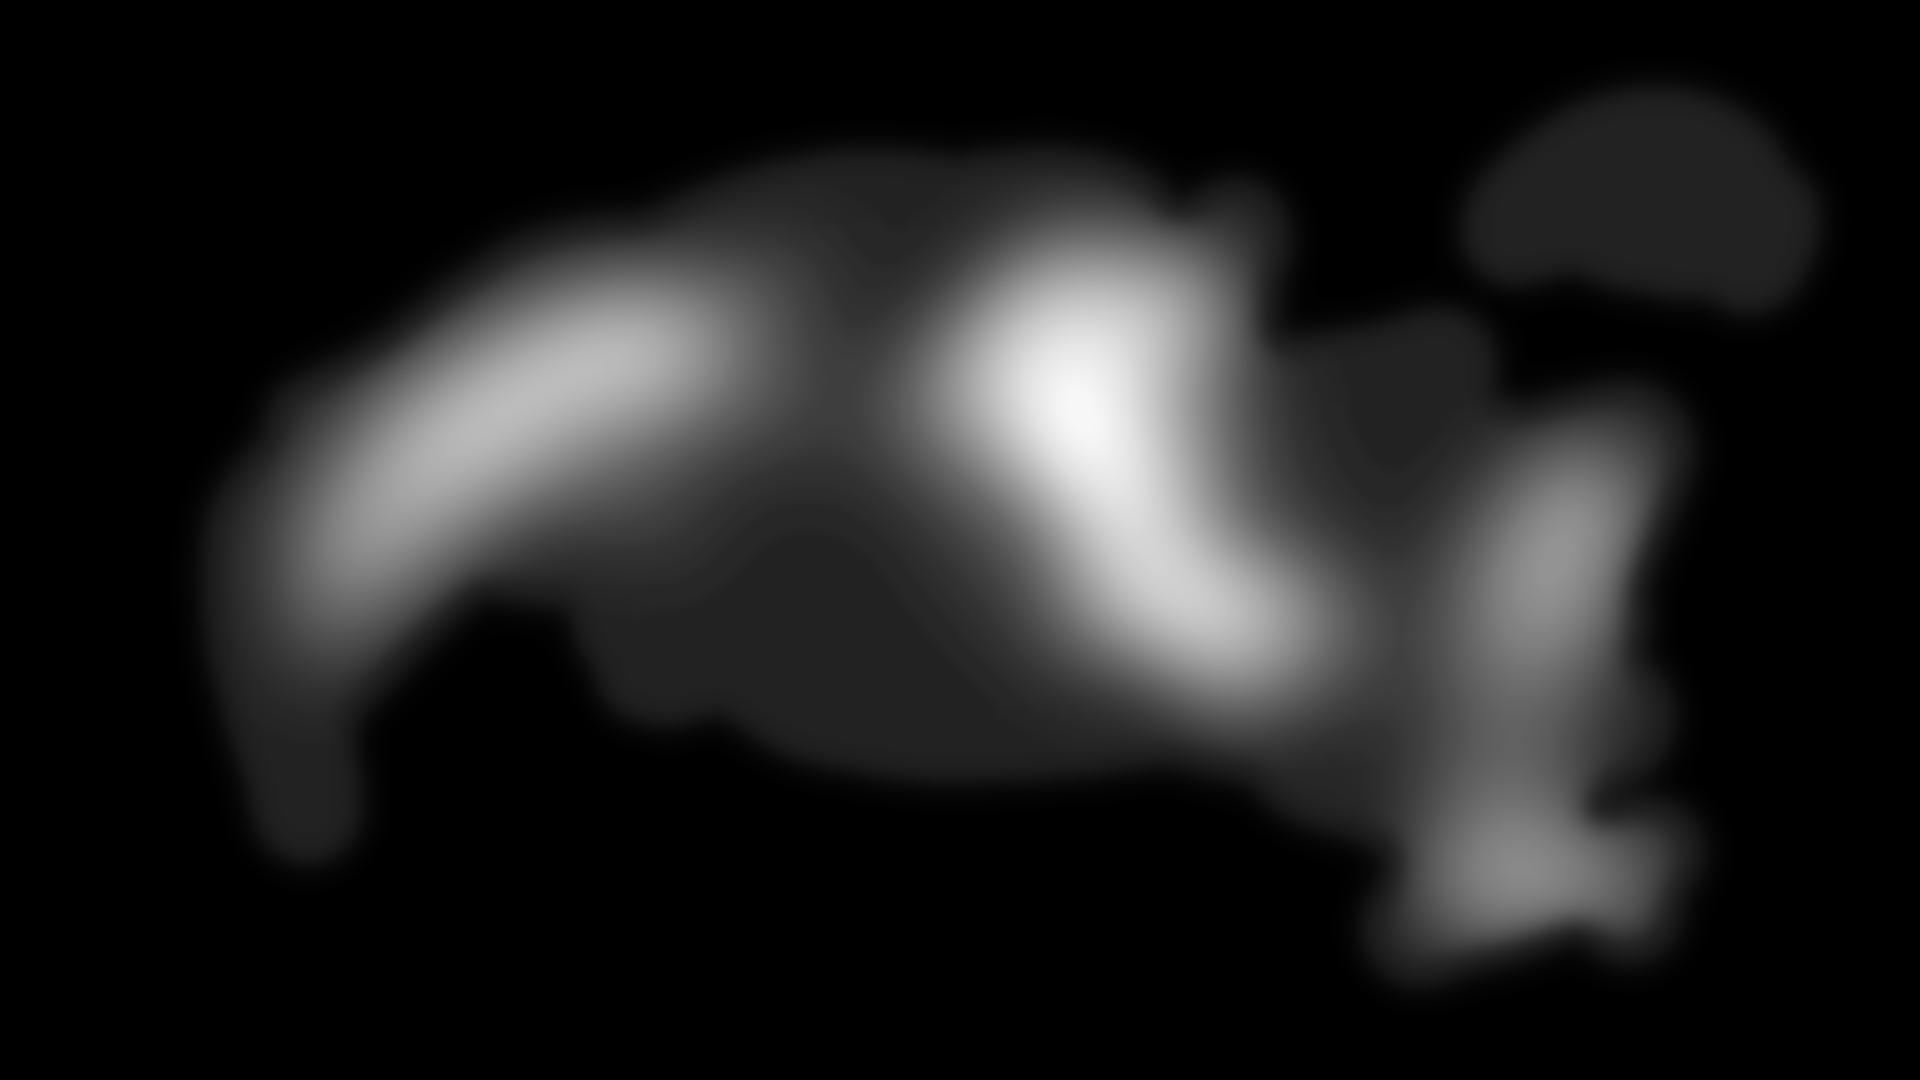
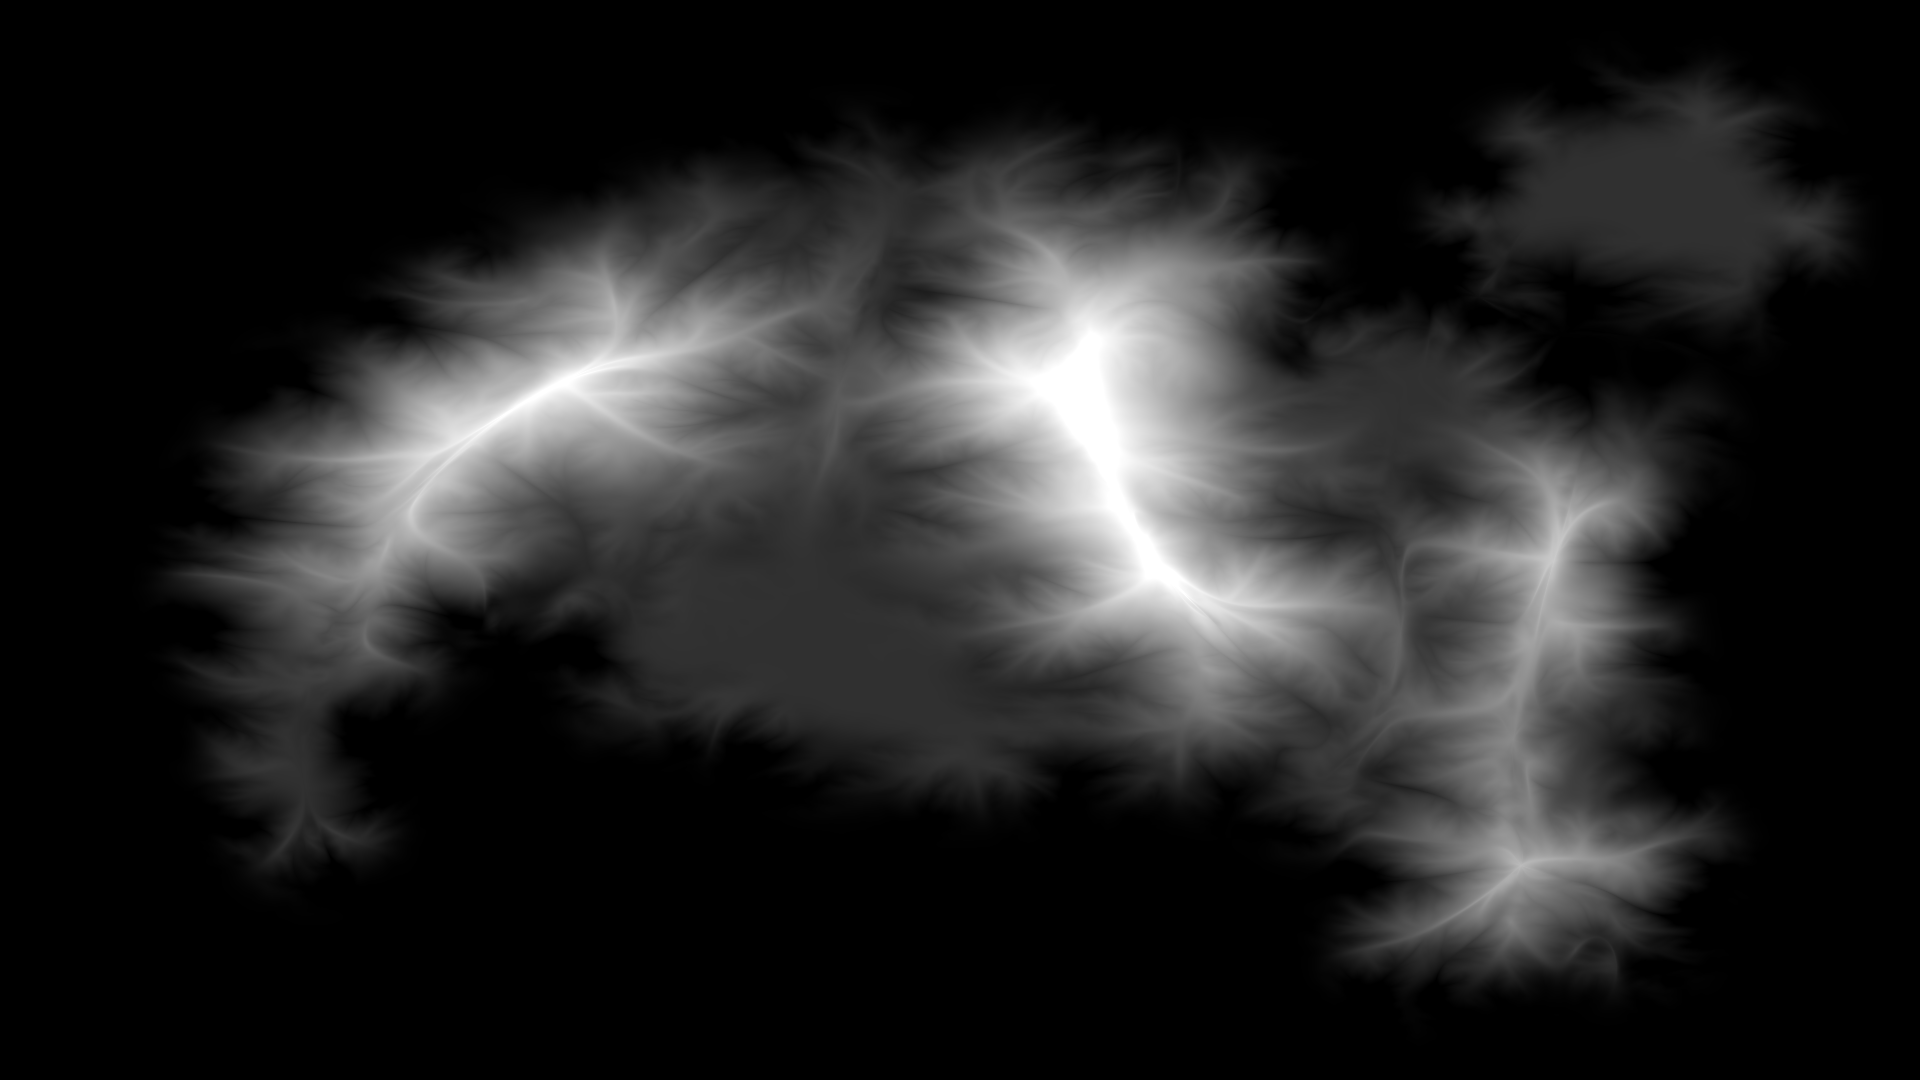
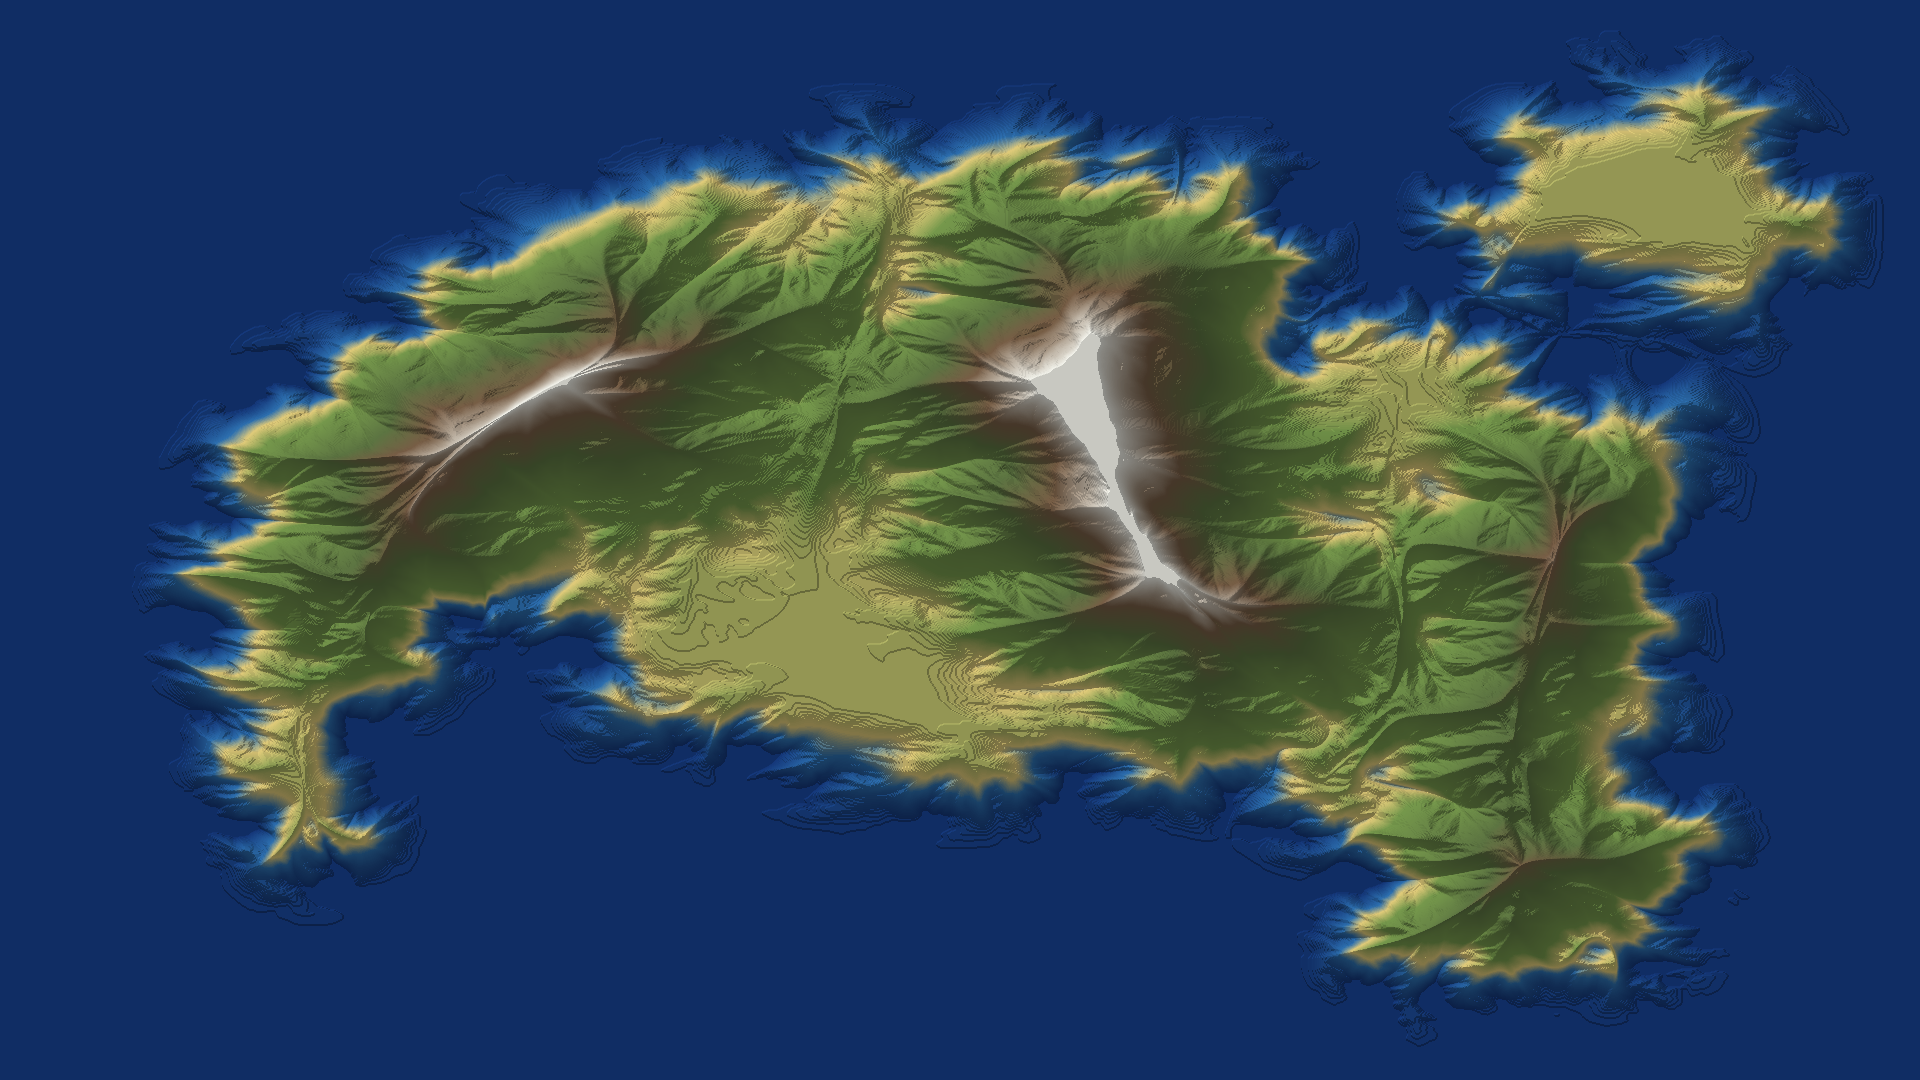
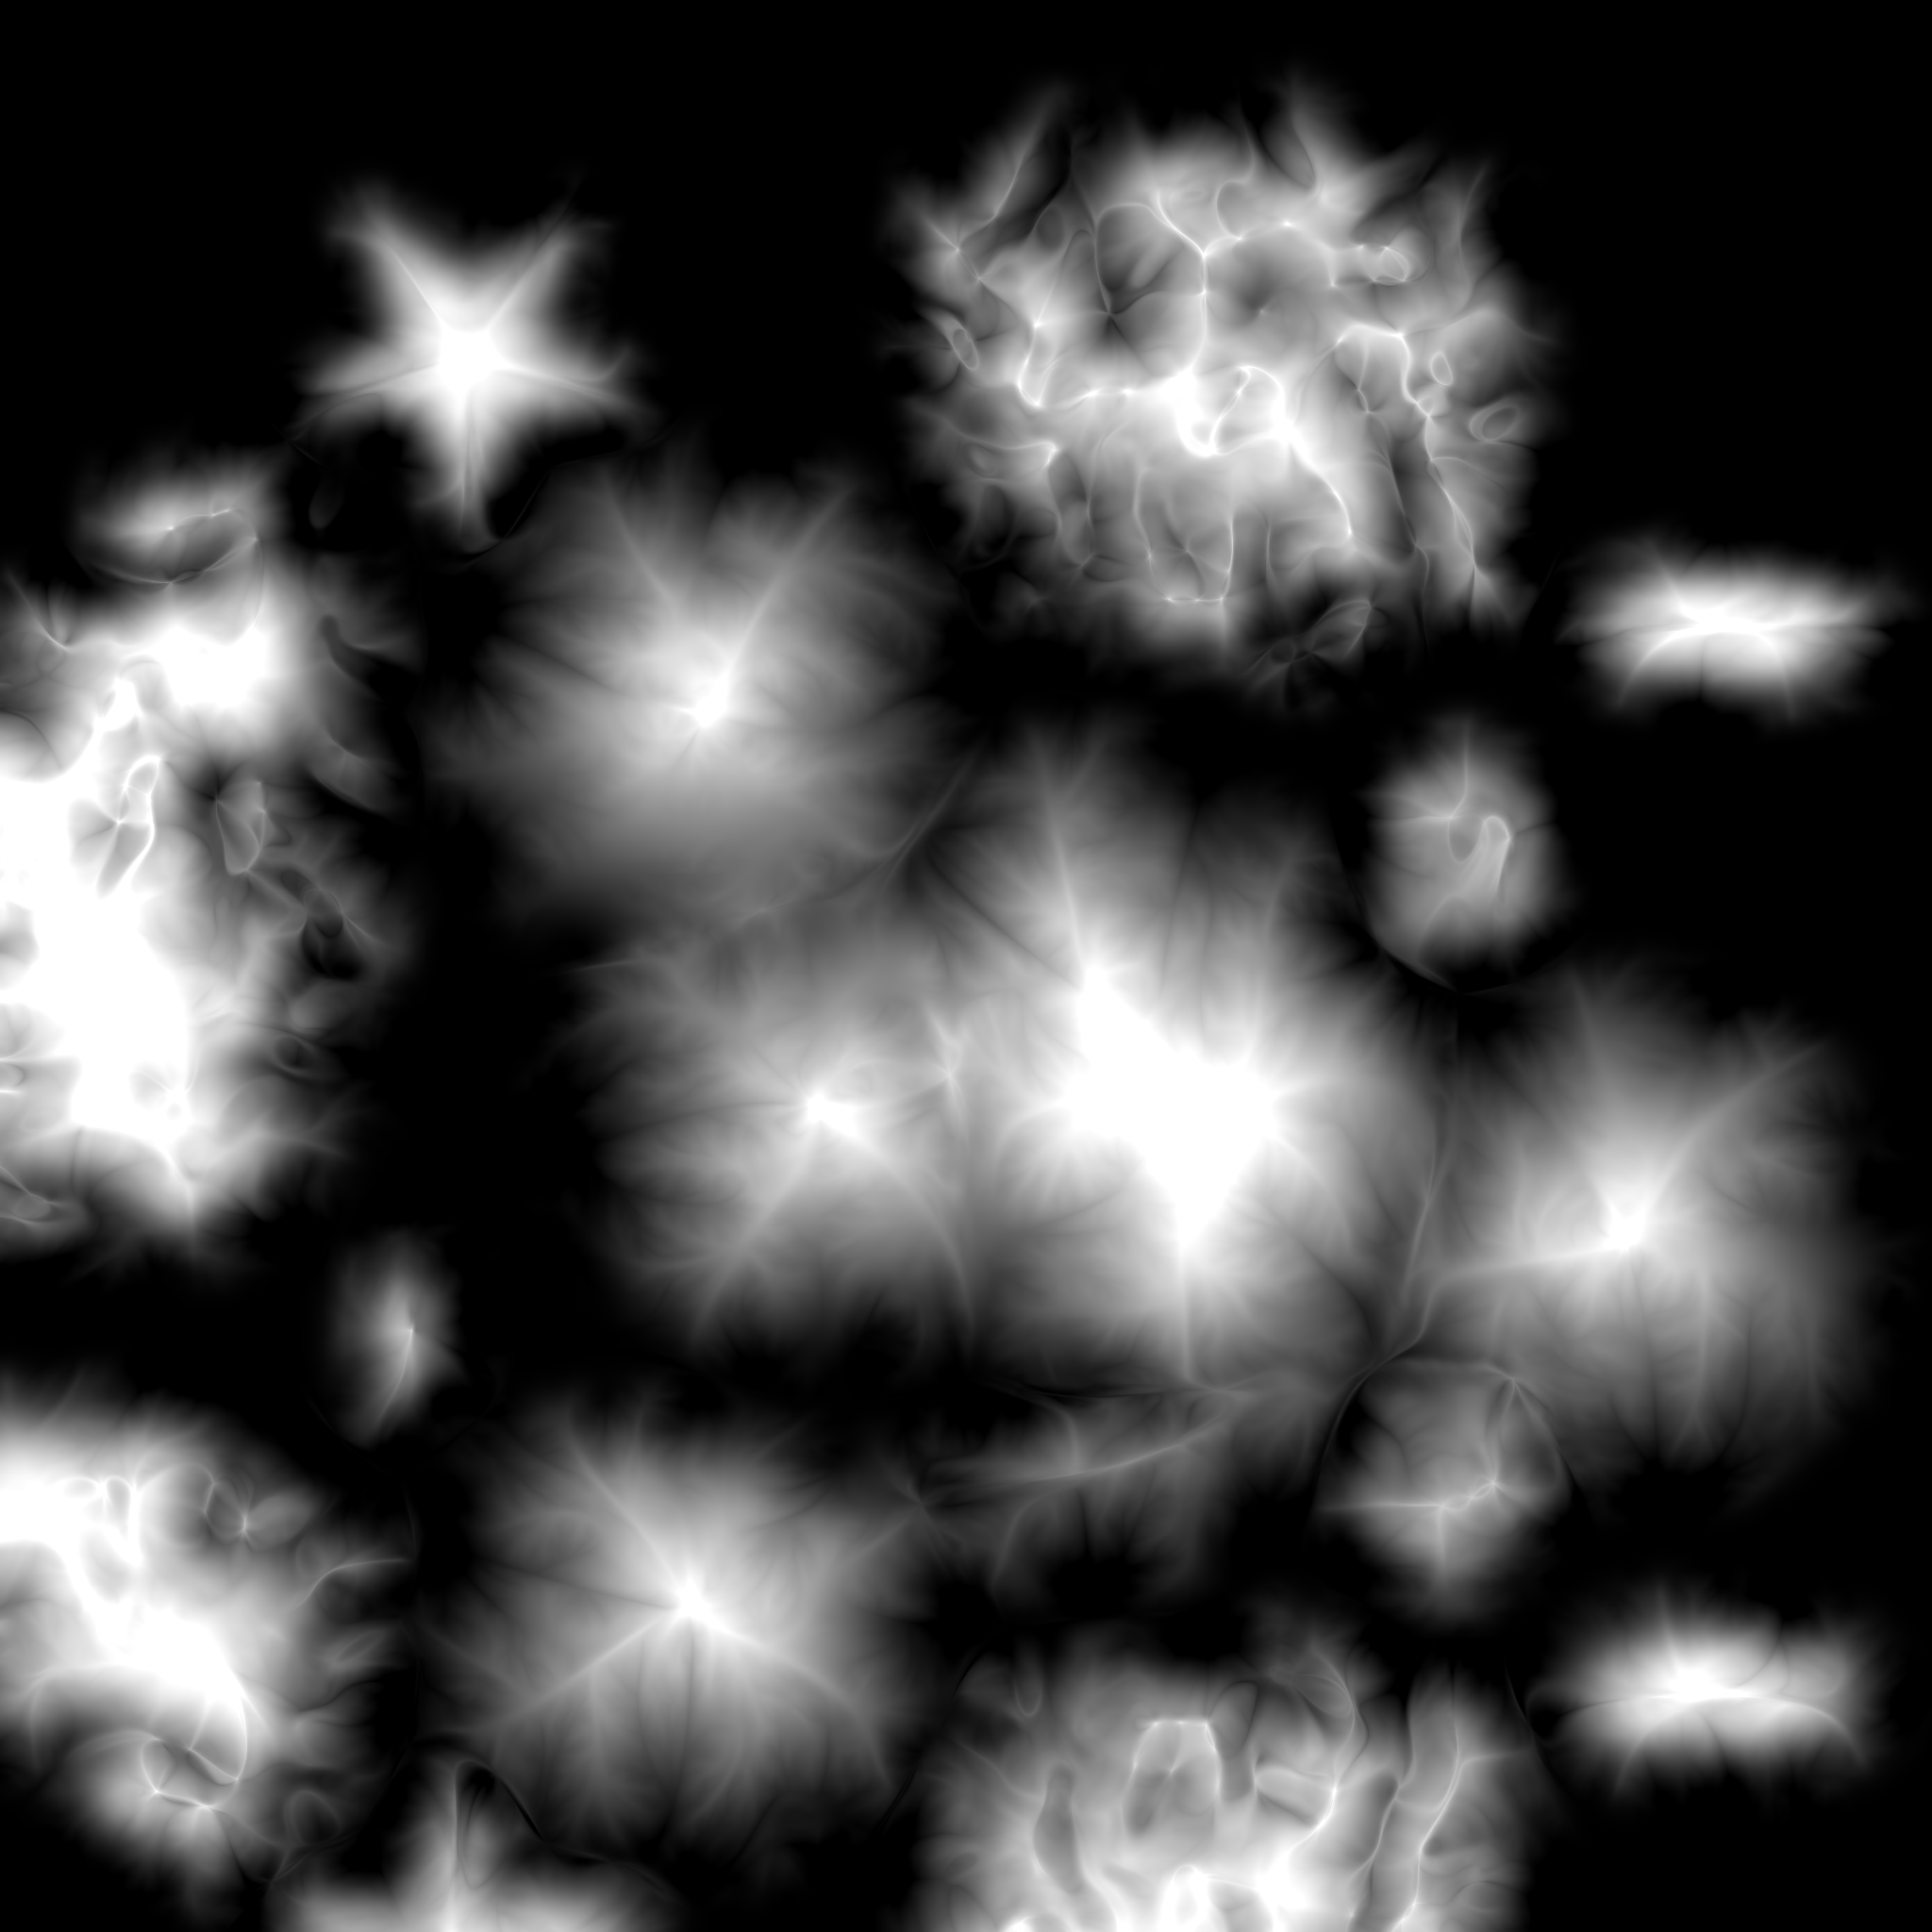
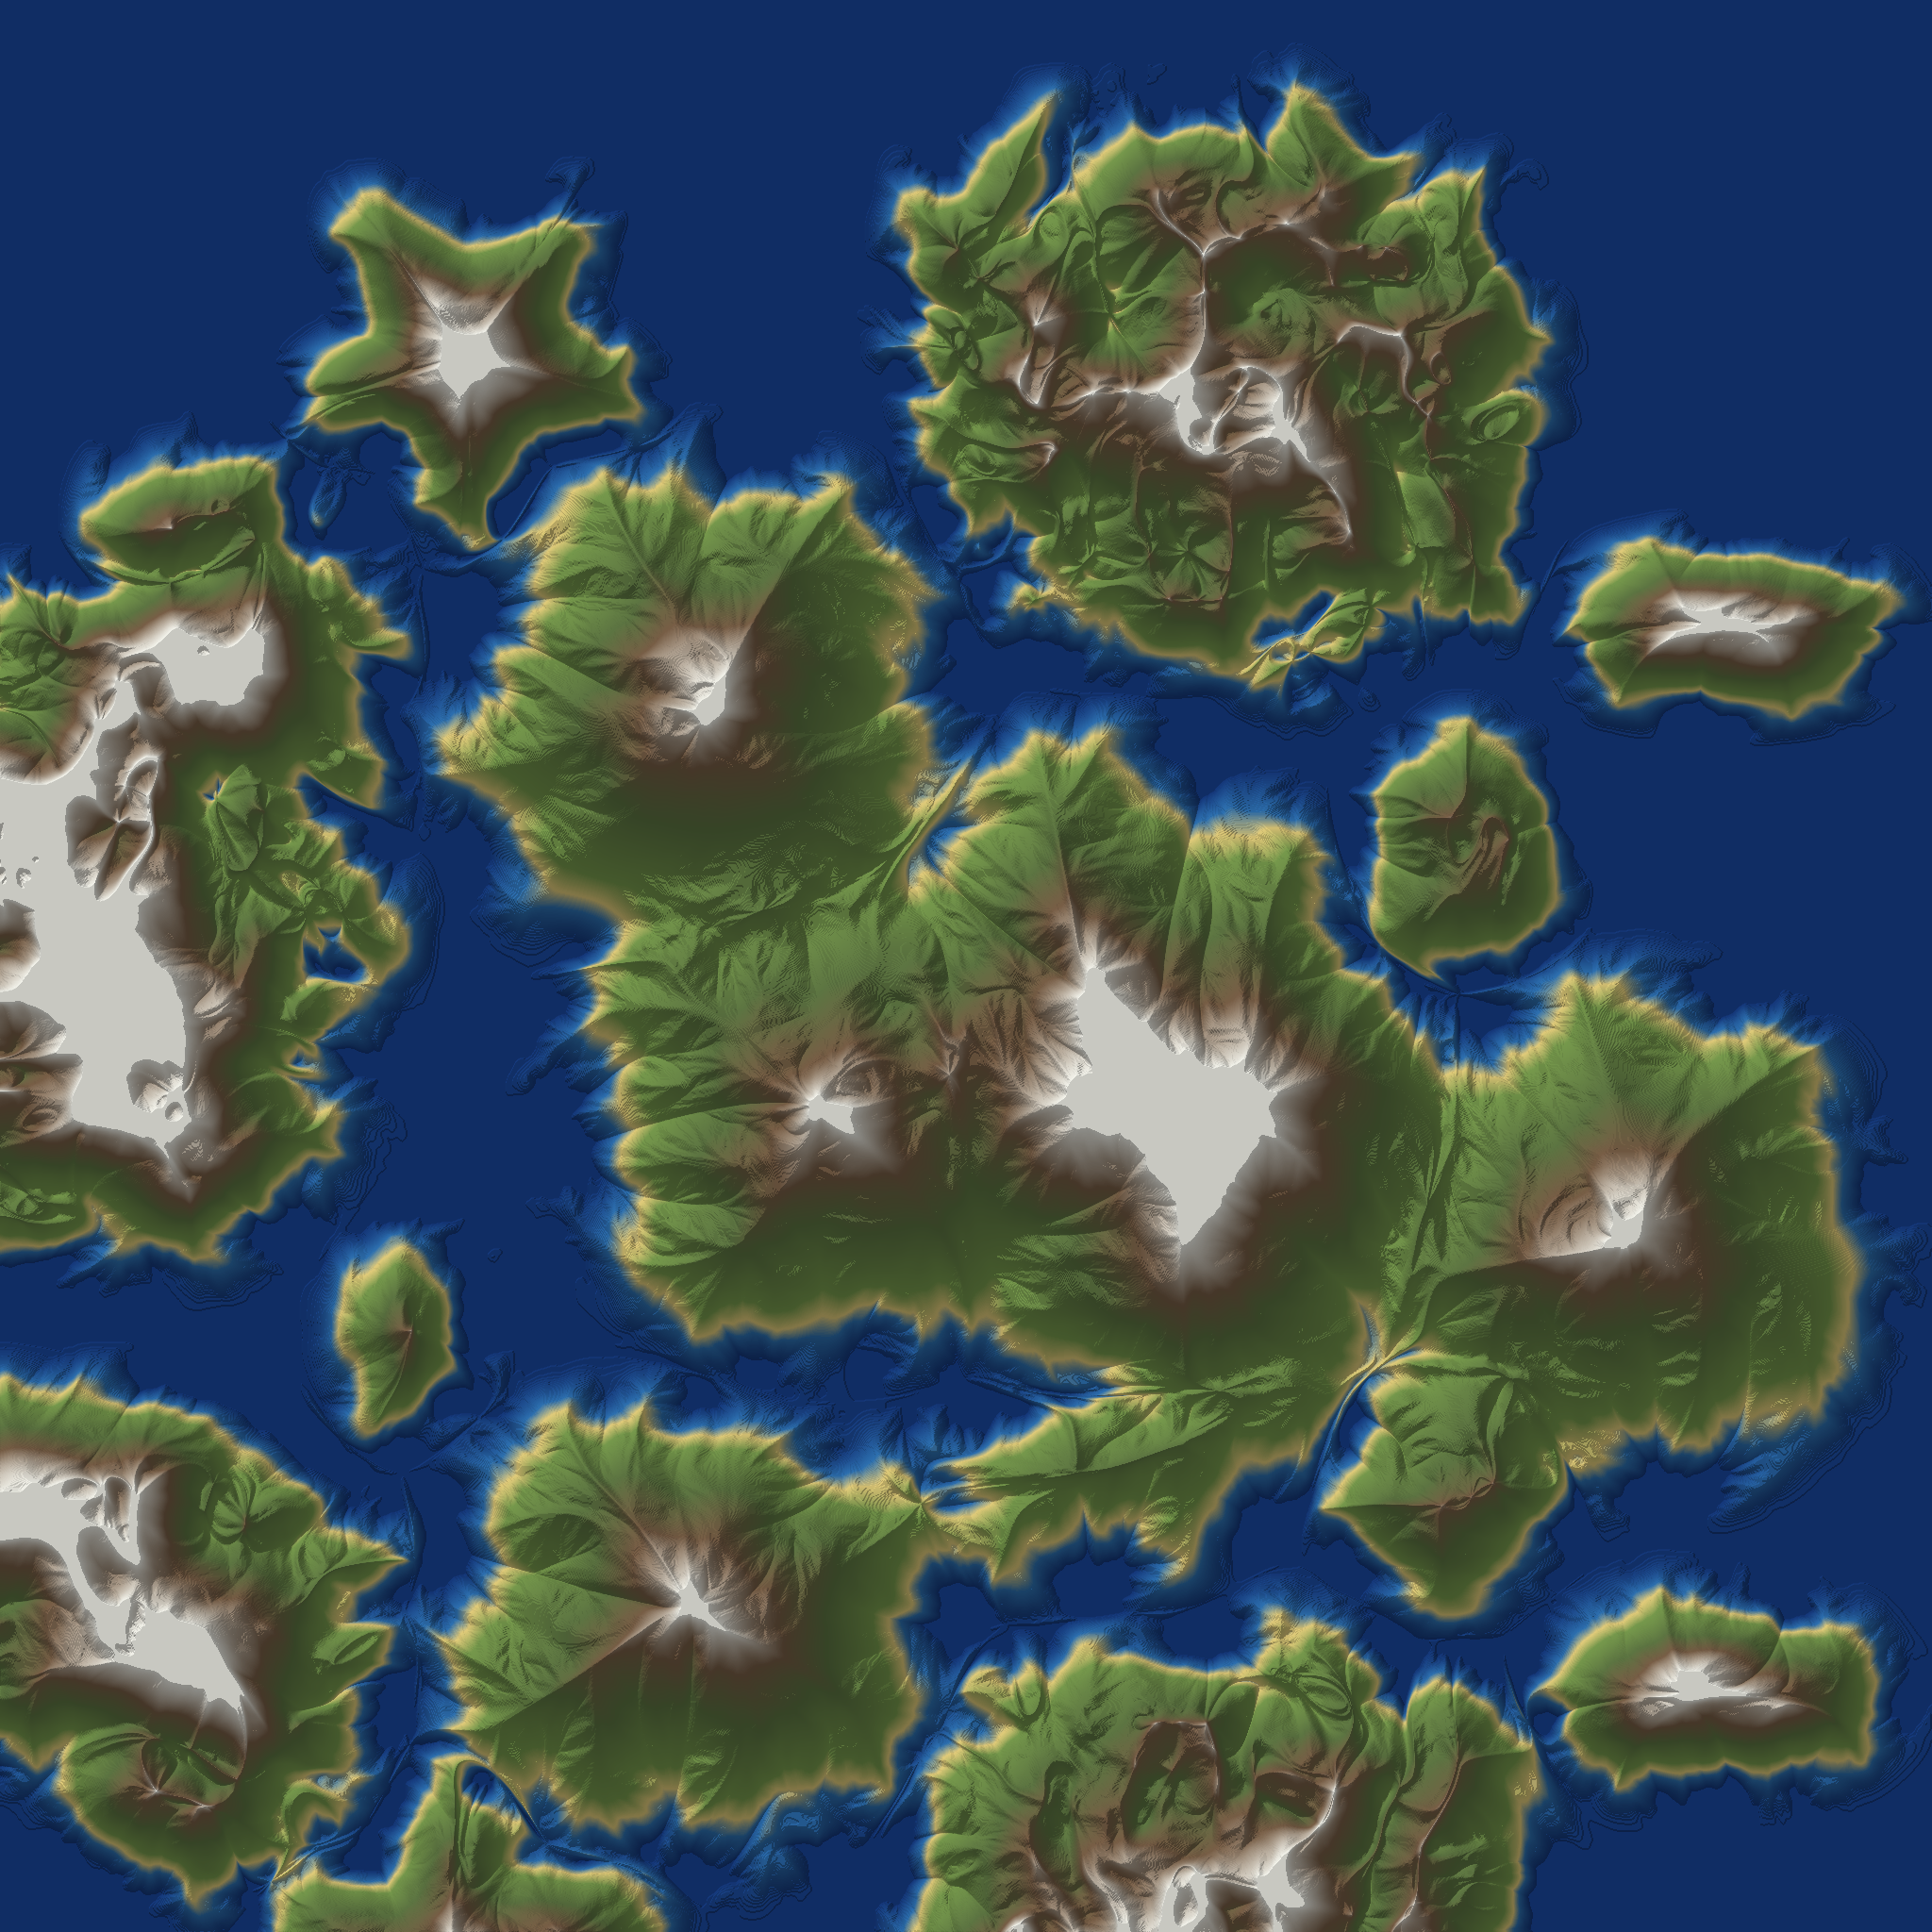
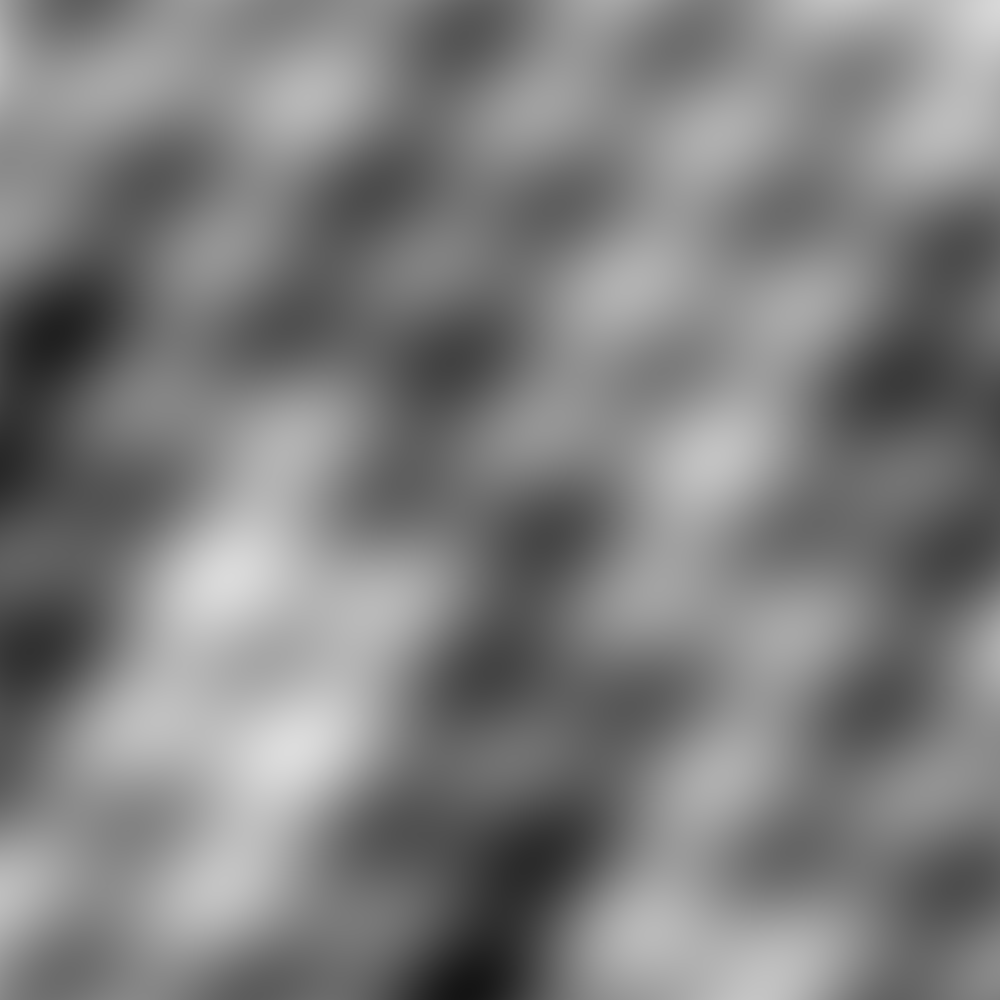
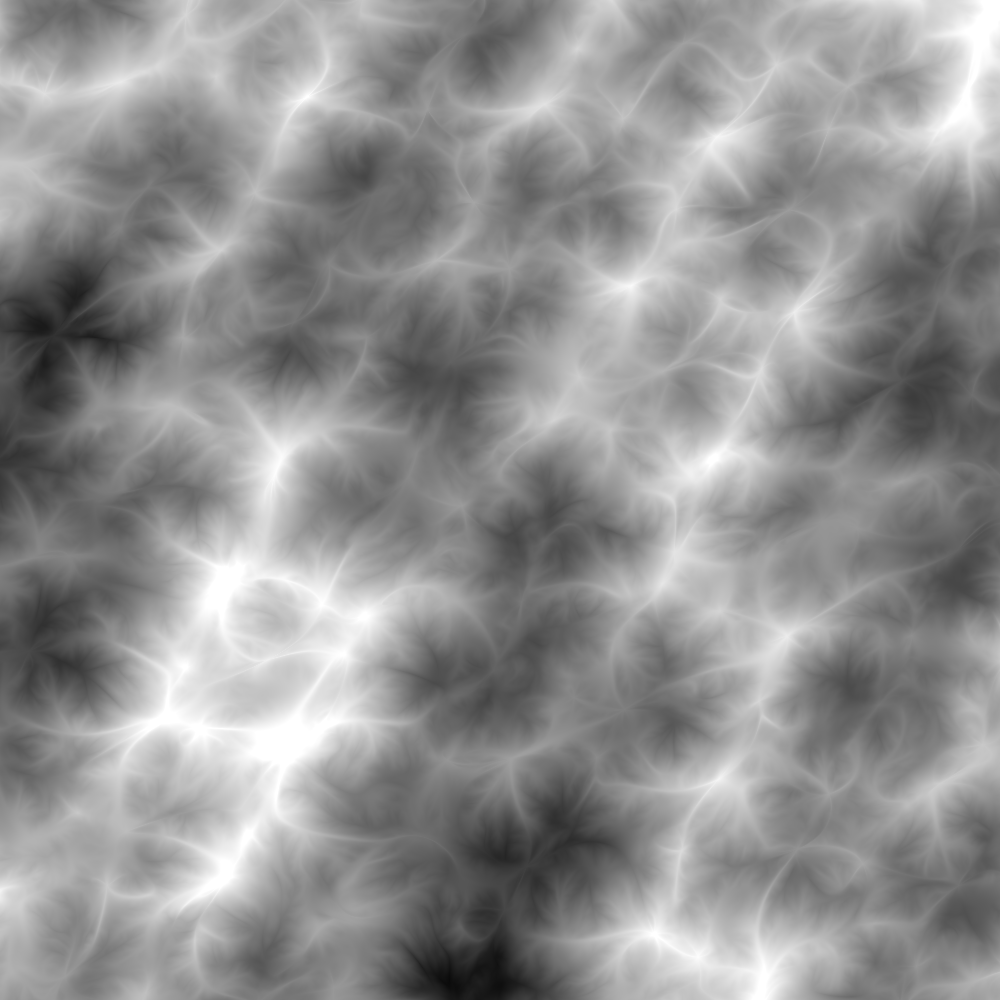
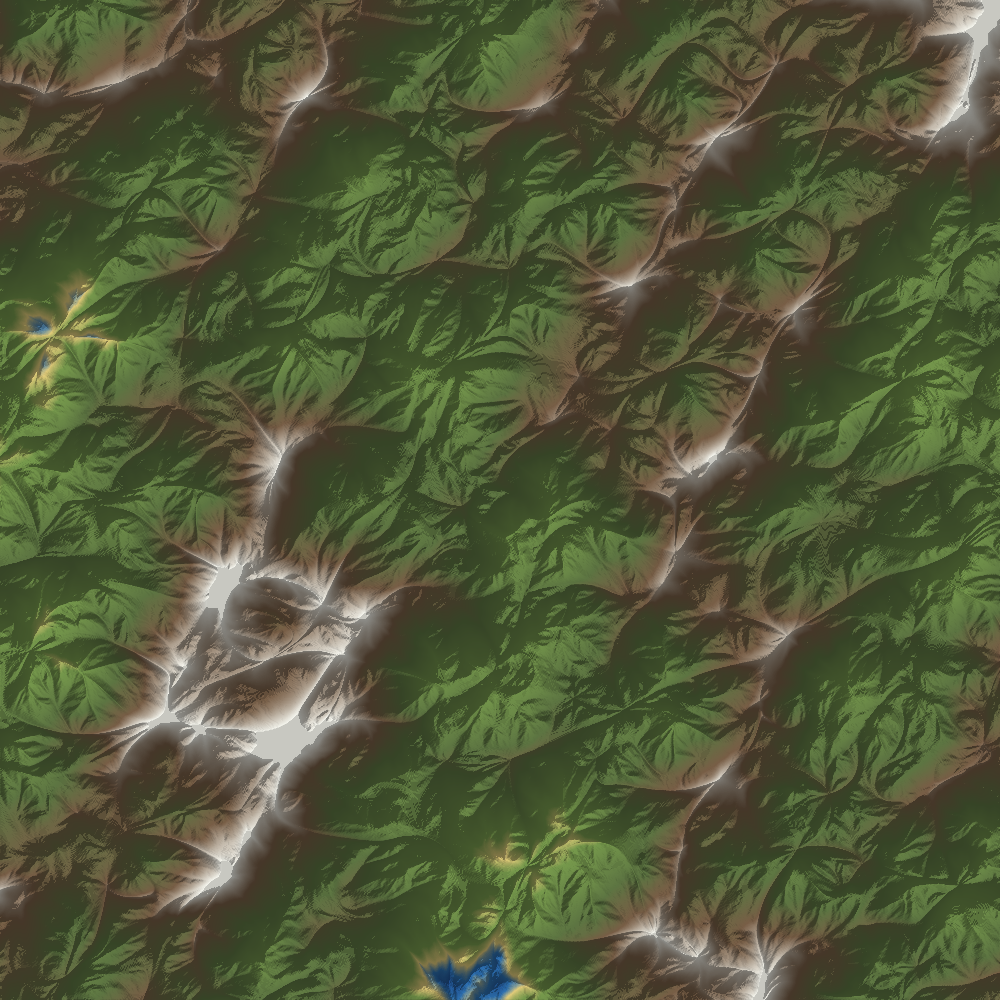
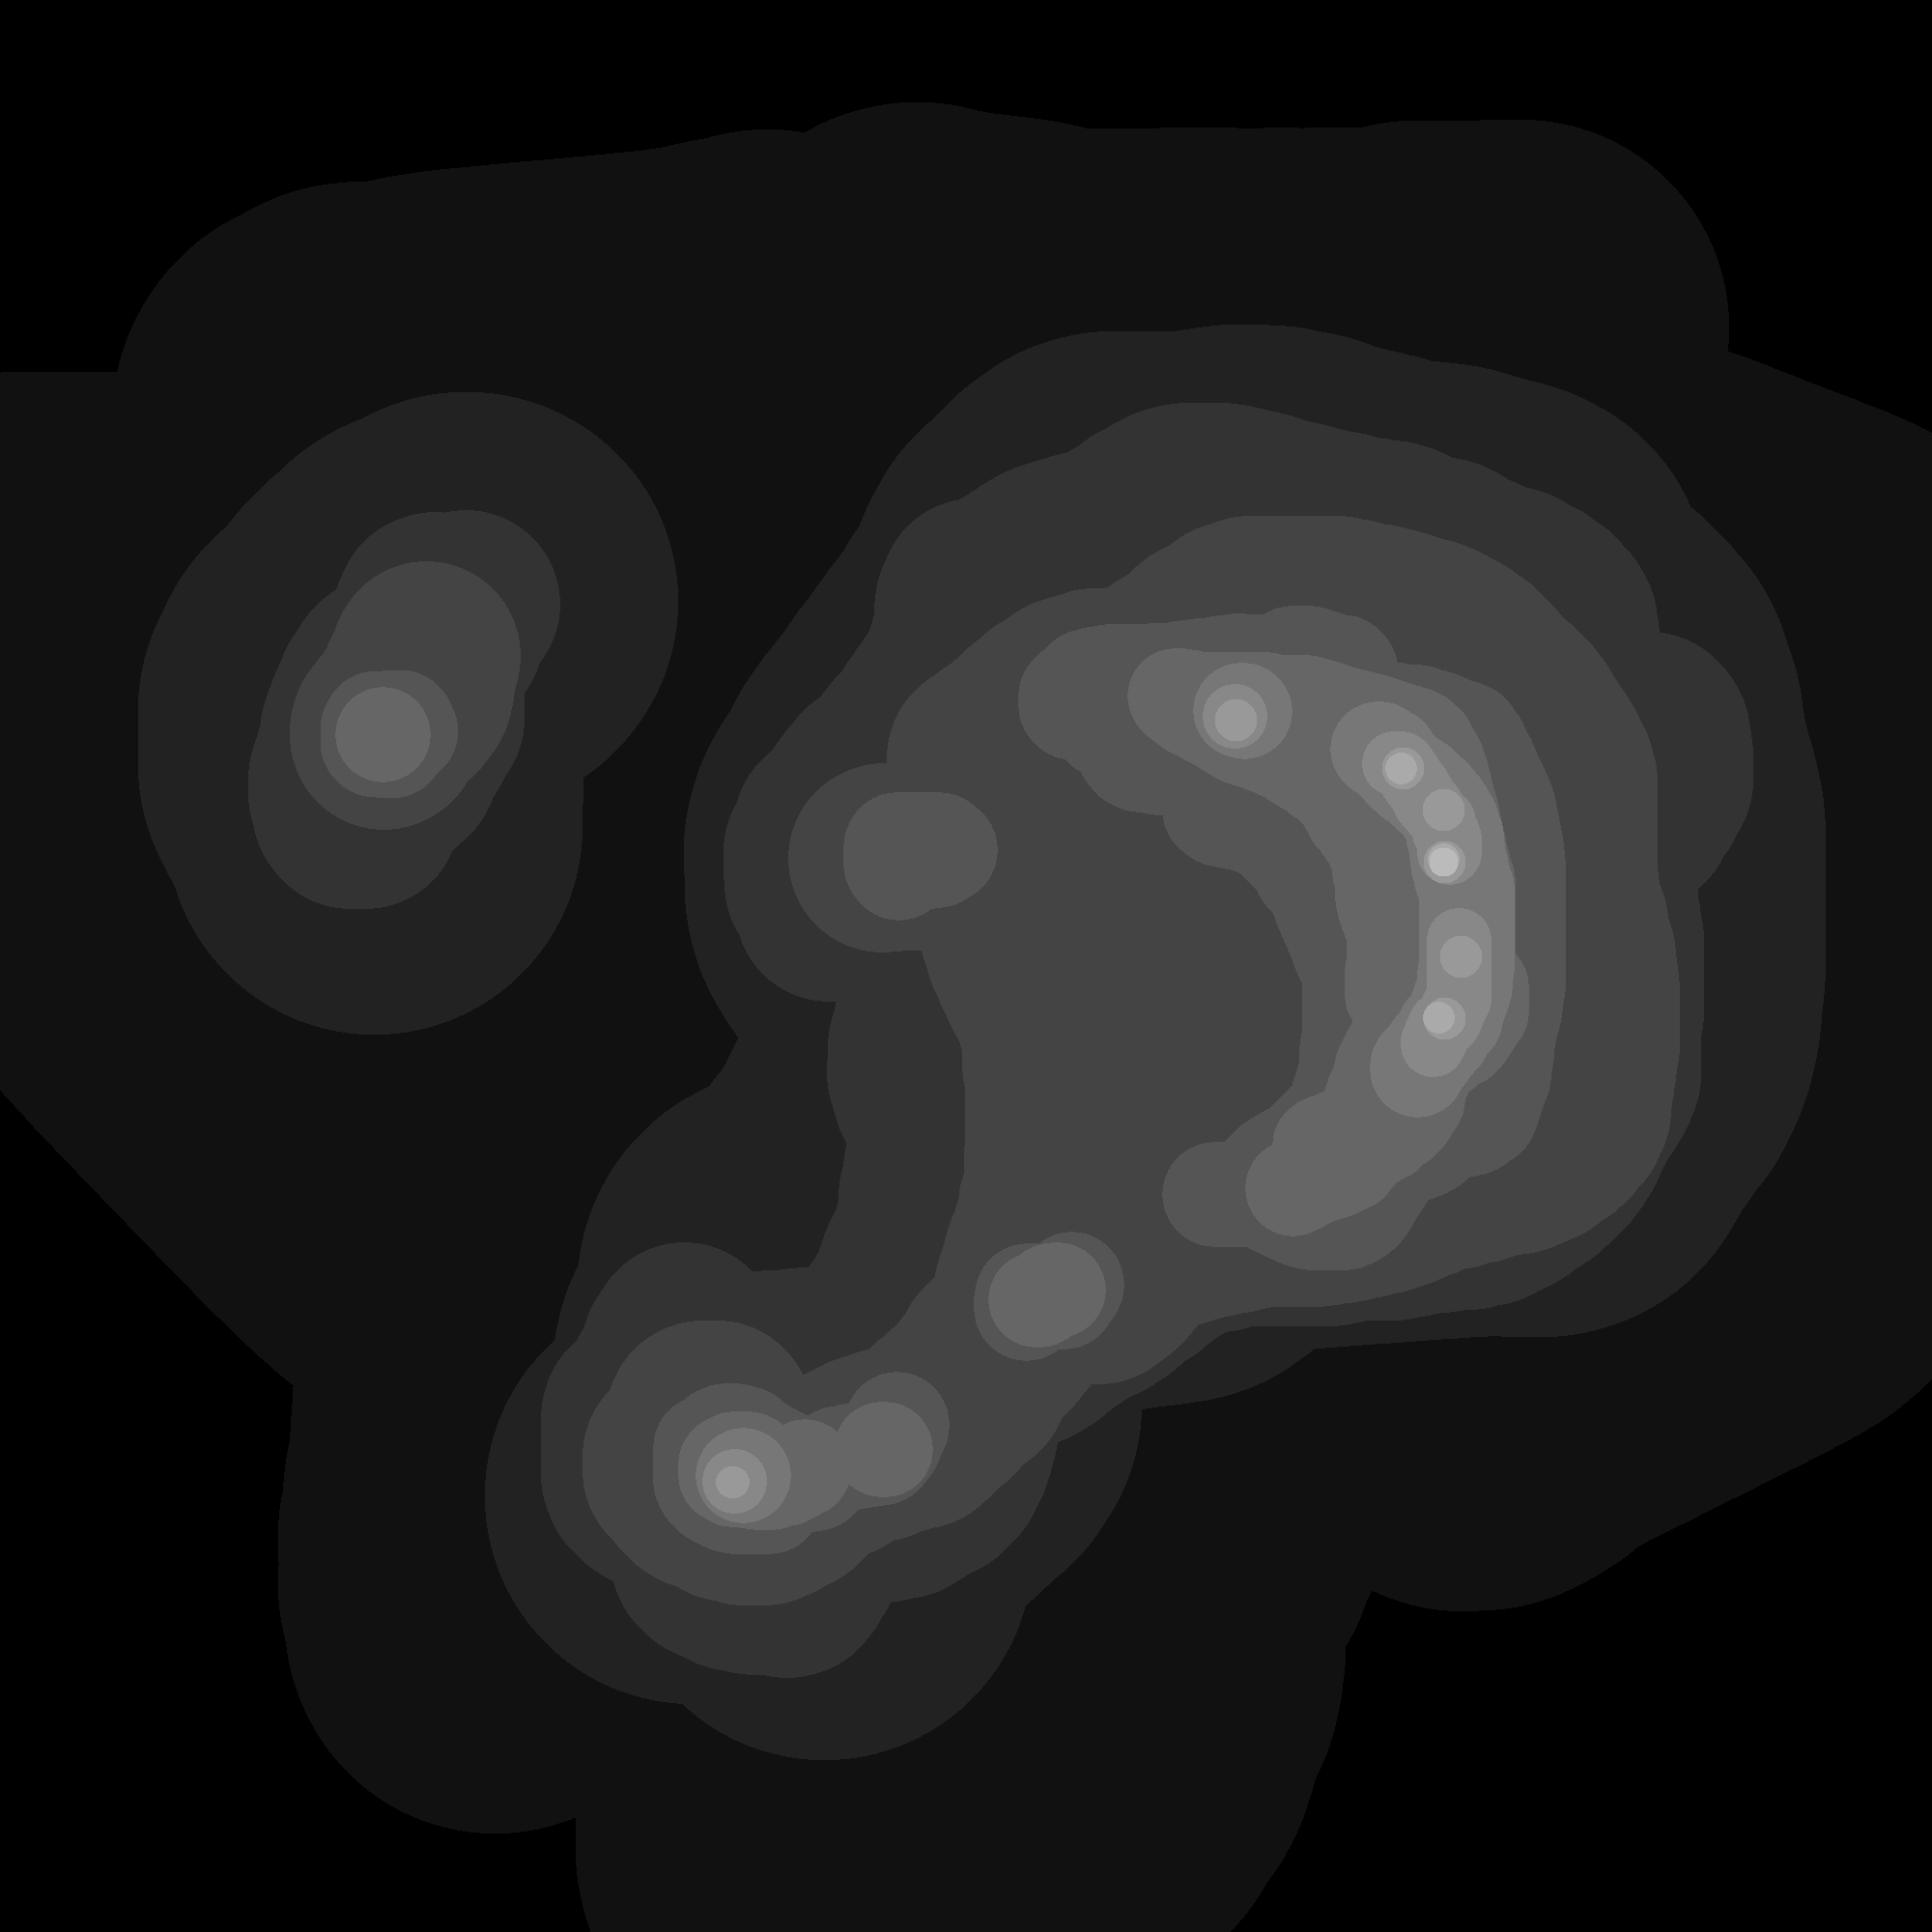
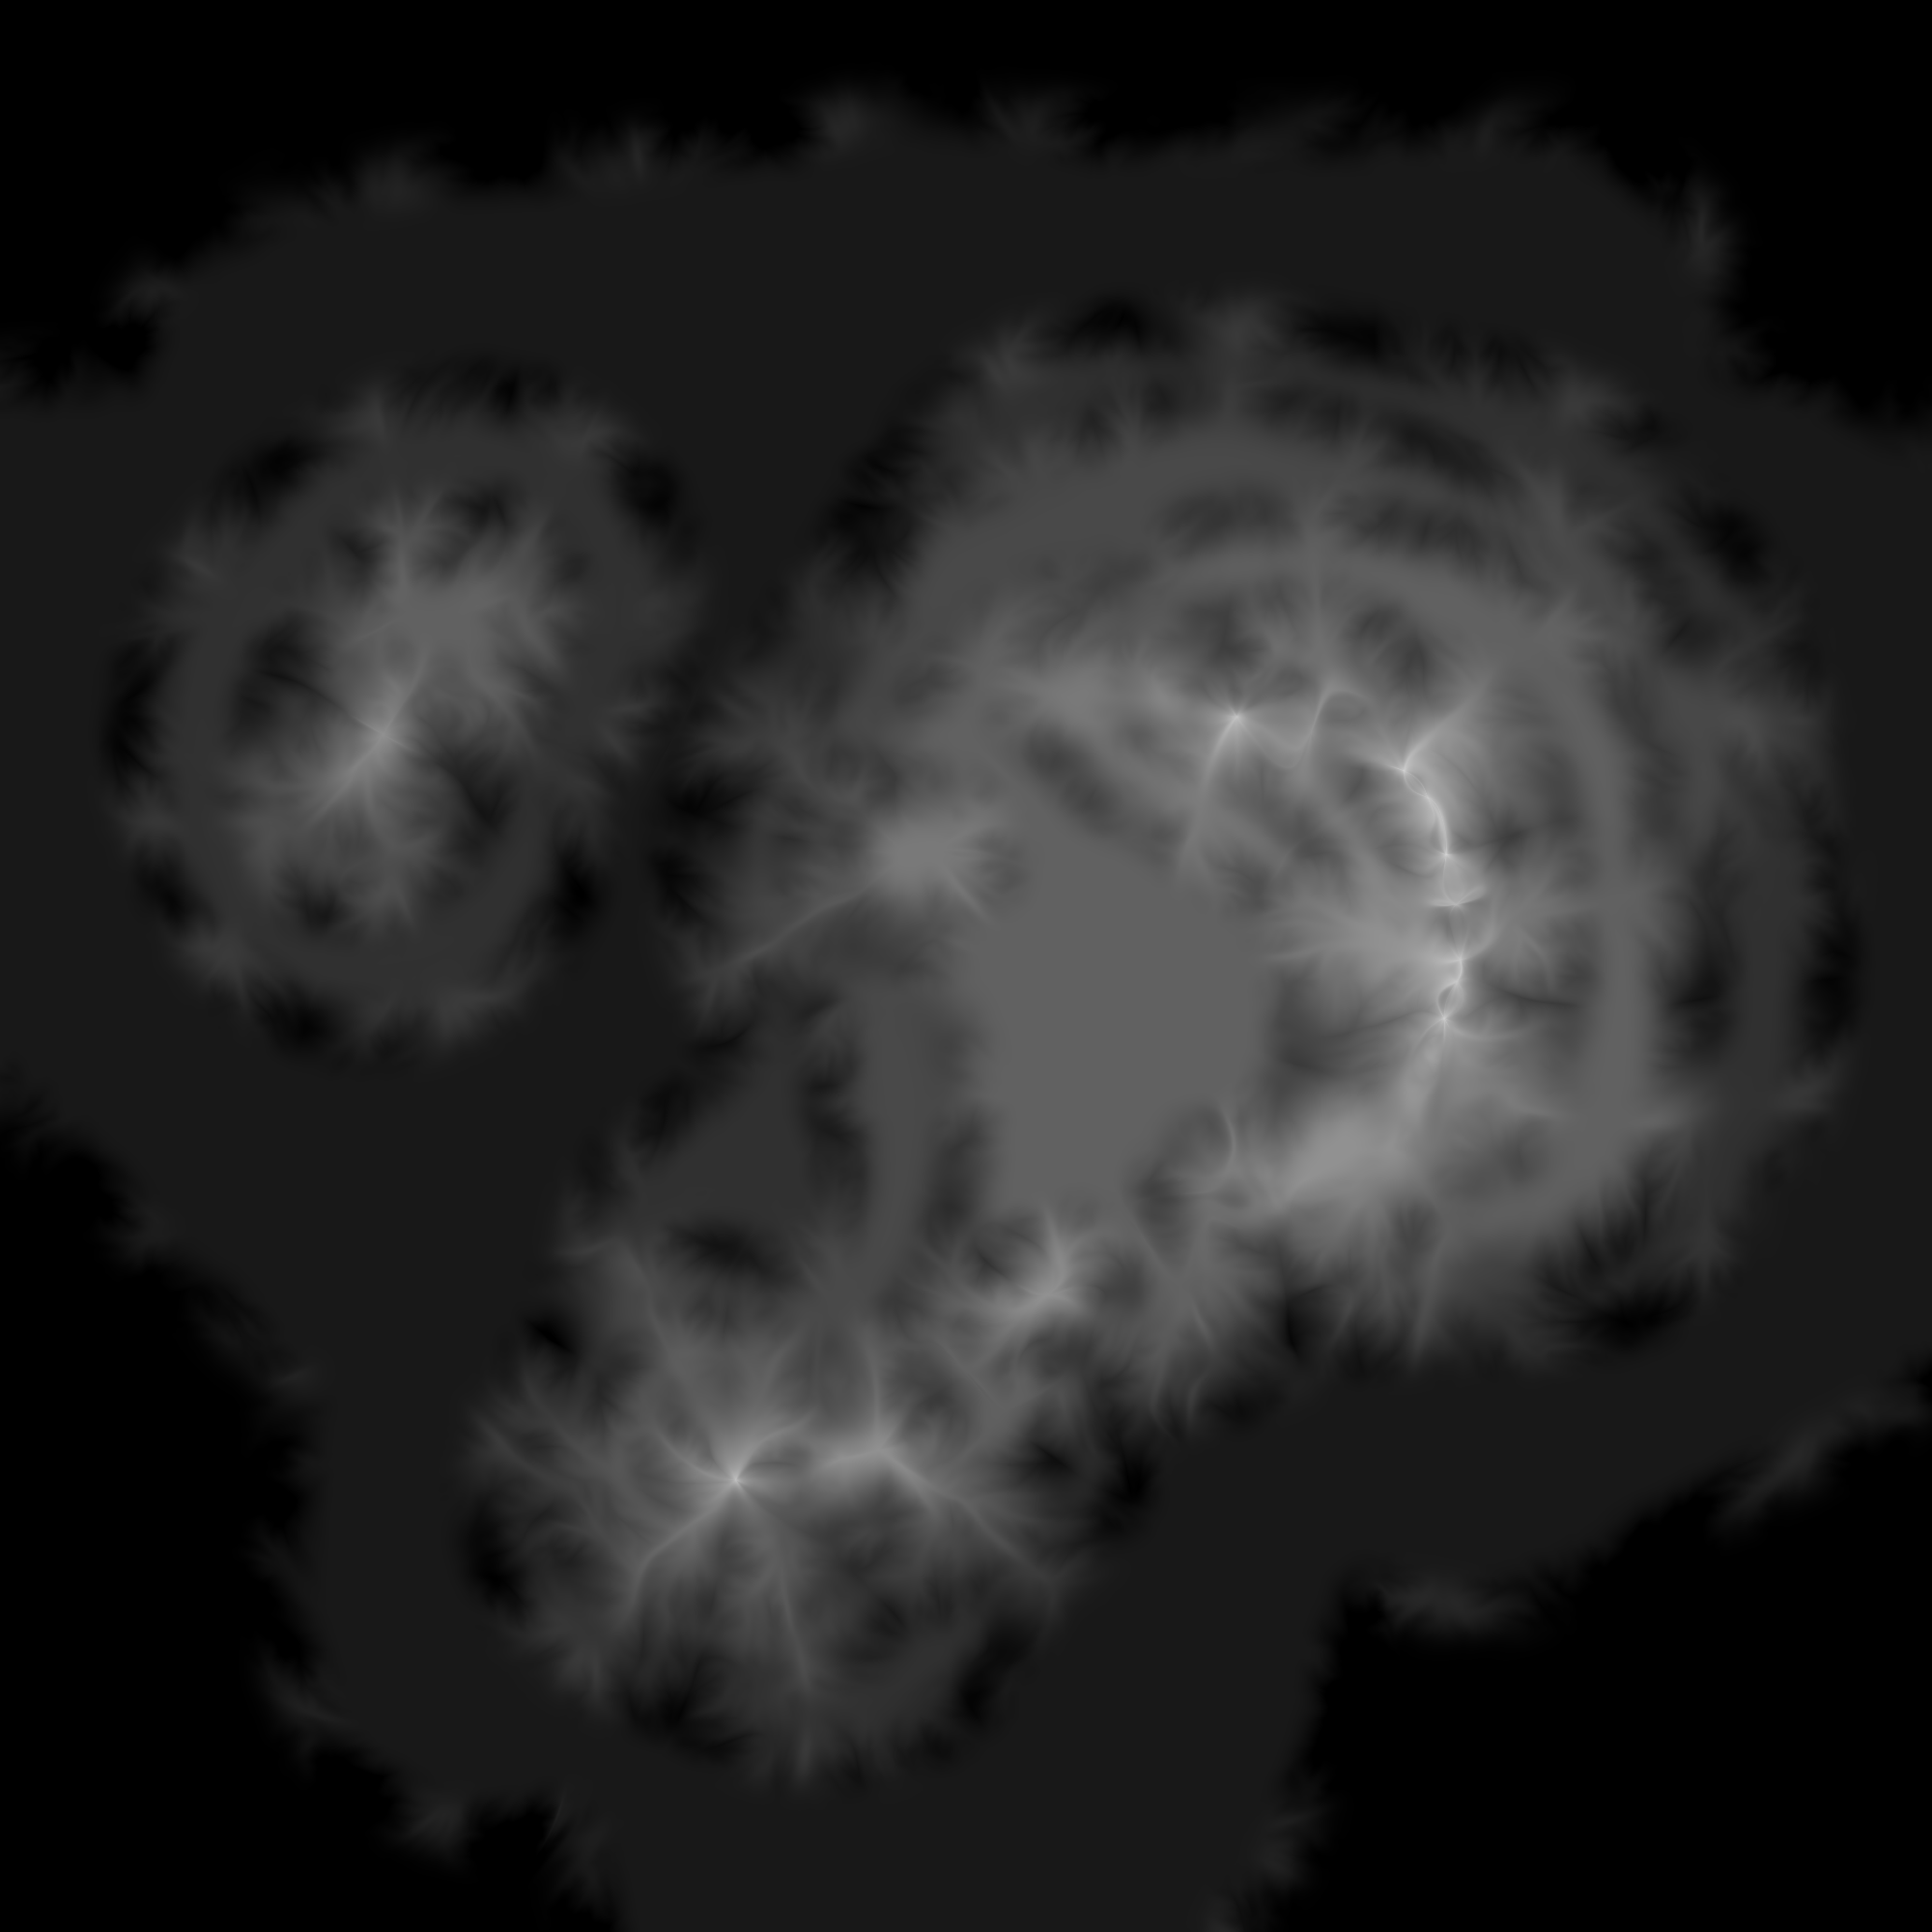
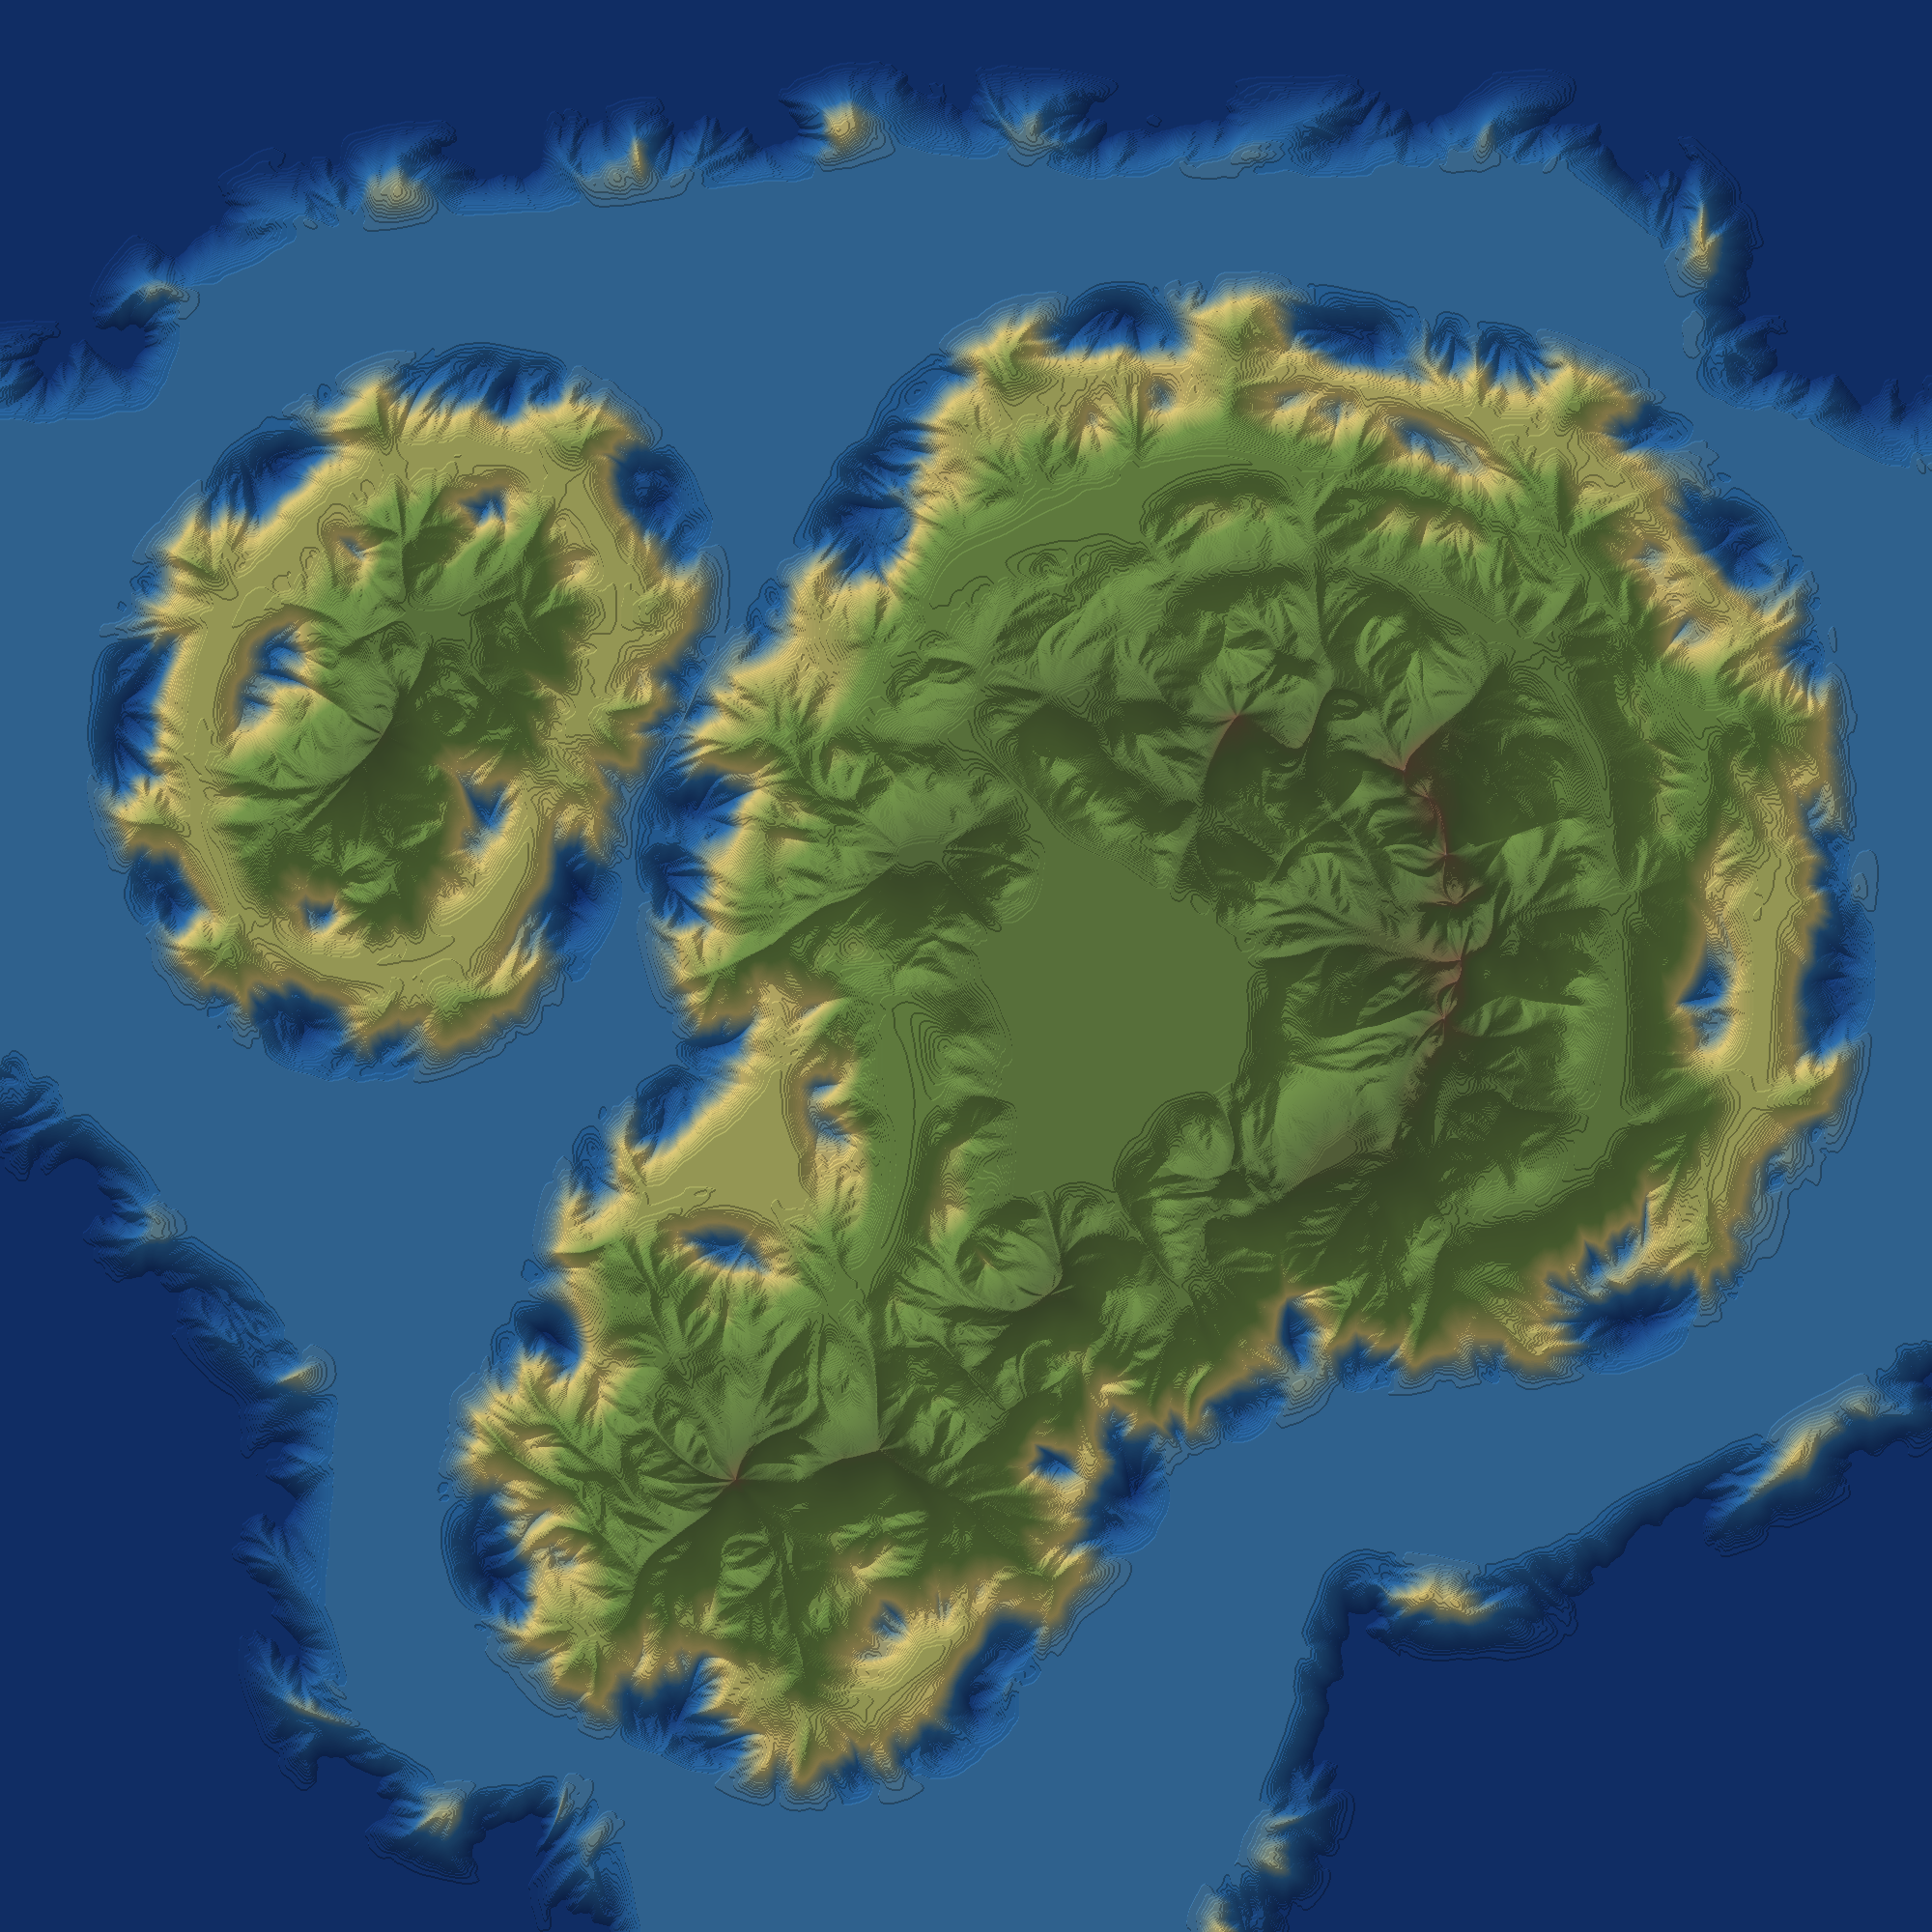
Example Images:
| Input image | Eroded height map | With color/bumpmap |
|---|---|---|
 |
 |
 |
 |
 |
 |
 |
 |
 |
 |
 |
 |
 |
 |
 |
 |
 |
 |
 |
 |
 |
 |
 |
 |